June 28, 2009

Kuantan + Sungai Lembing Trip - Day 2

After a day of driving, I am very tired and went to bed before midnight. The alarm rings at 4am and I woke up to prepare for the hiking. To preserve energy, we walked slowly up (as in real slow) to the hill and that's why we woke up so early. Around 1 hour, we reached the peak and the time is around 6am.

A bit of disappointment that we failed to see the beautiful sunrise as the clouds are very thick on that day. It is so thick that we can't even see the houses & trees down there. Furthermore, the place is just too crowded!
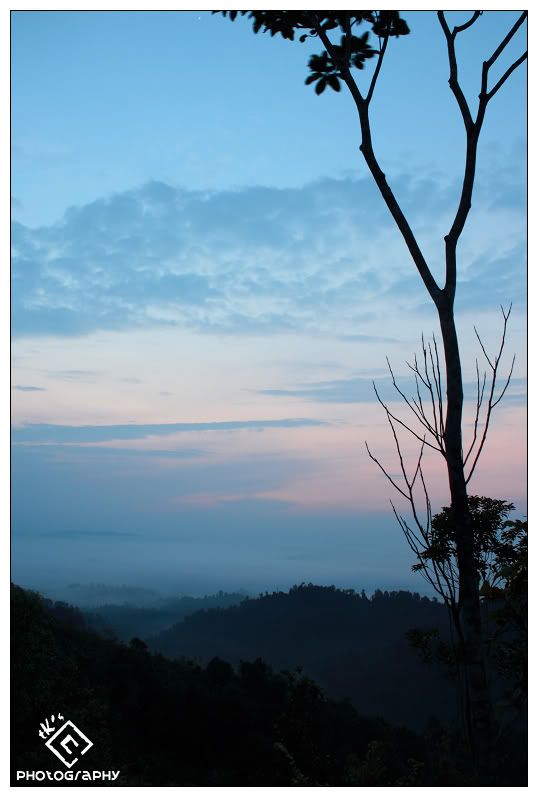
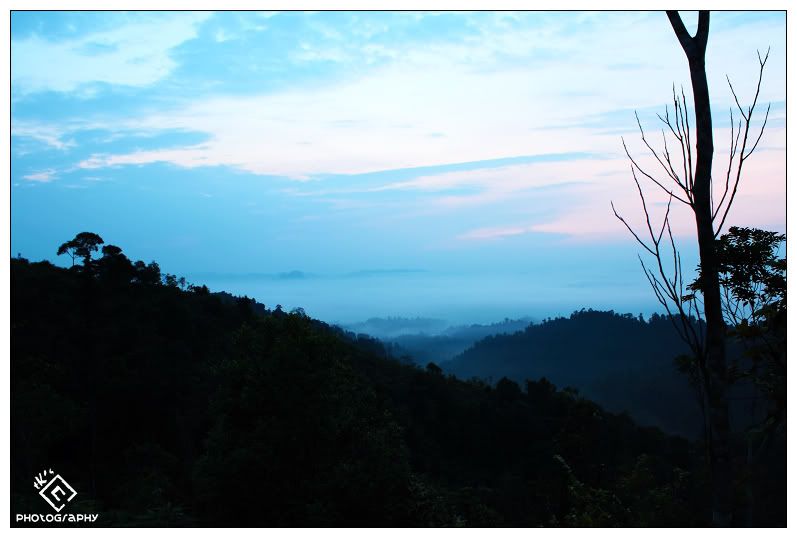
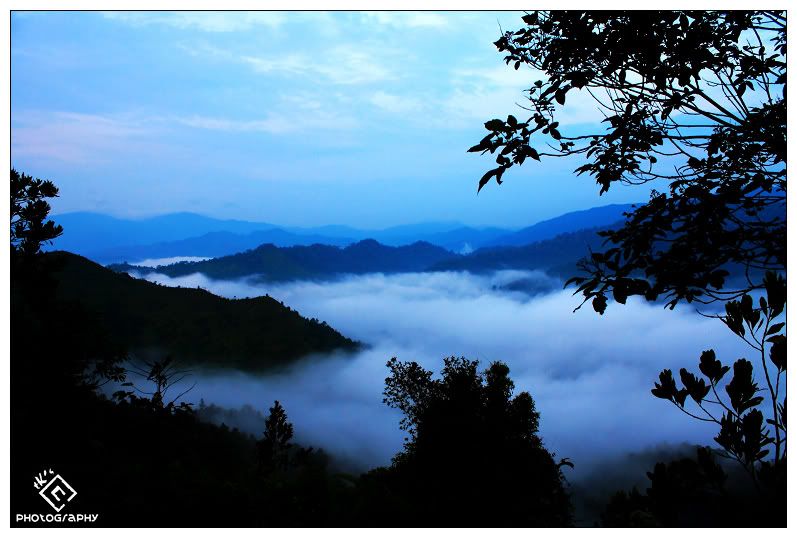
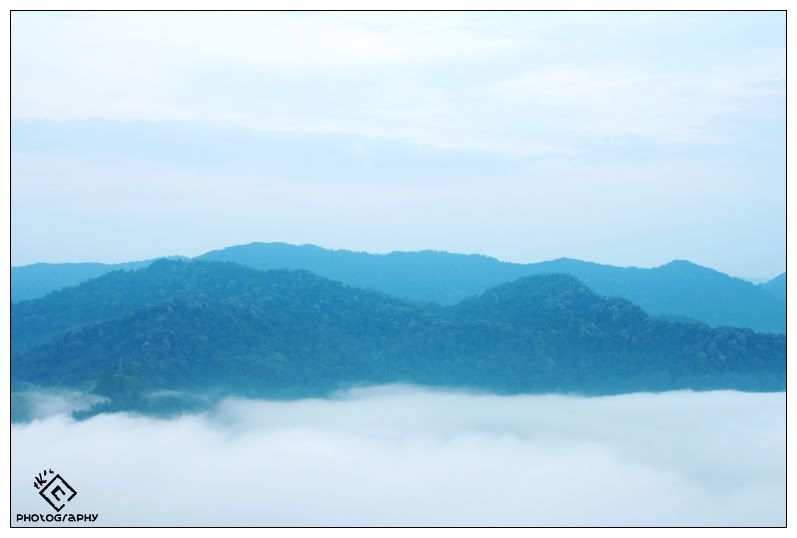
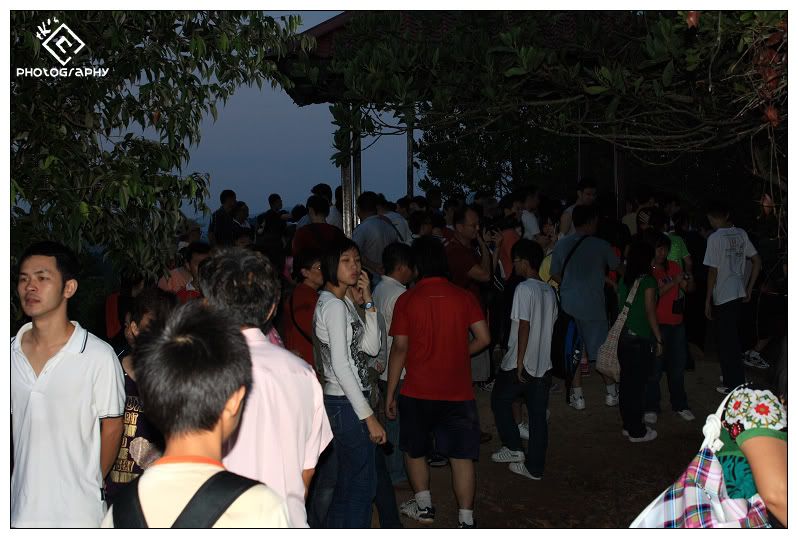


(It's another night market pasar malam up there)

Around 7:30am, we rushed down to the town just to taste the famous Lembing Noodle (林明面) and Bean Curd (tōfu - 山水豆腐) that use water sourced from the mountain in its making. The breakfast is cheap as it only costs RM5.70 and I have taken a lot stuffed tōfu (酿豆腐) that would probably cost RM10+ in KL area.
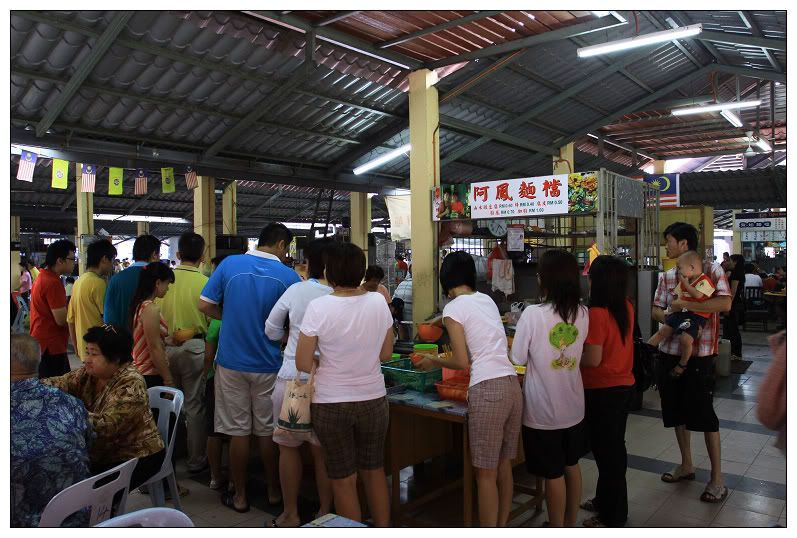

(Famous Noodle Stall - photographed by clown)
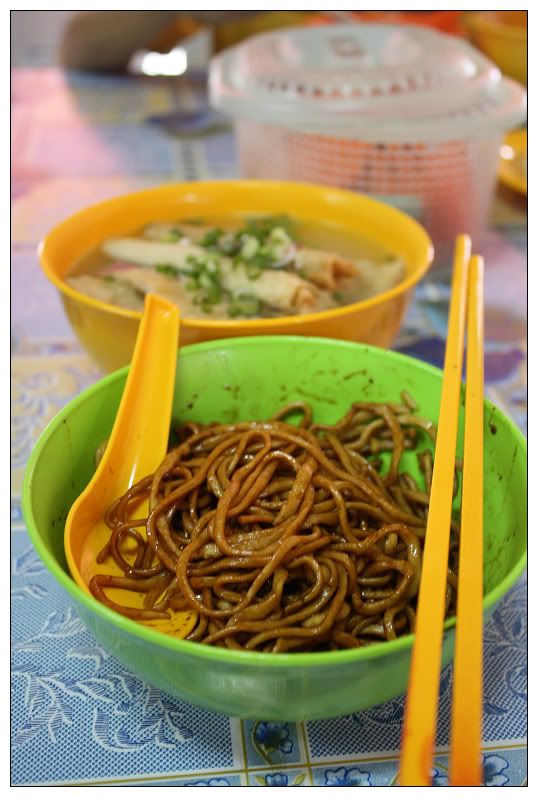

(Lembing Noodle - Comes in 2 variants, soup-based & dry)
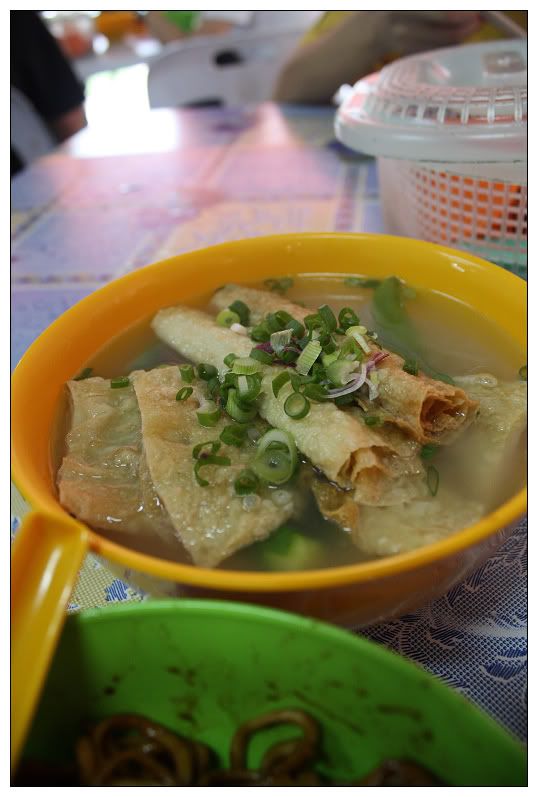

(The stuffed tōfu~!)


I personally do not like normal tōfu so I have no comment on the tōfu there. I only like stuffed tōfu. However, the noodle is nice to eat with nice texture and no weird smell. Worth a try.

After breakfast, we are exhausted and rushed back to our inn to take a bath. After bathing, we rested for few hours before packing & checking out. When we left the place, we just place the key on the table, the owner does not come to check the rooms before we left.

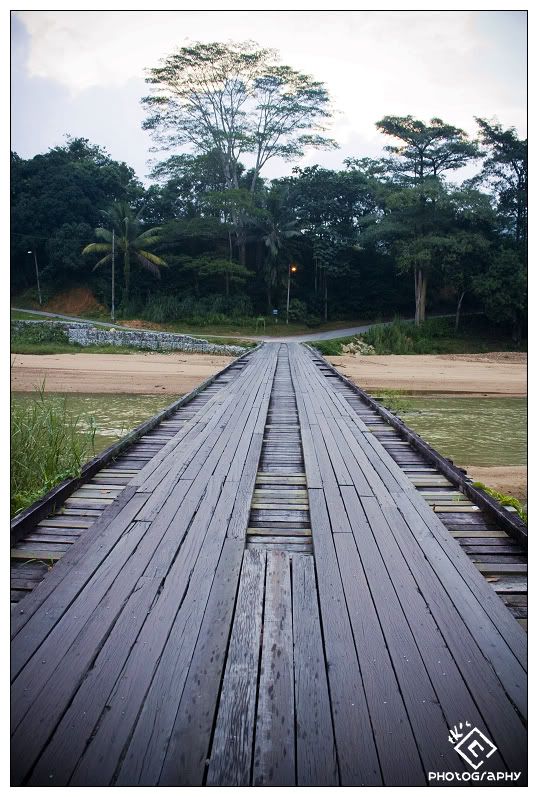
Before leaving Sg. Lembing, we decided to have a look at the suspended bridge there. Nothing special as these kind of bridge can be easily found.
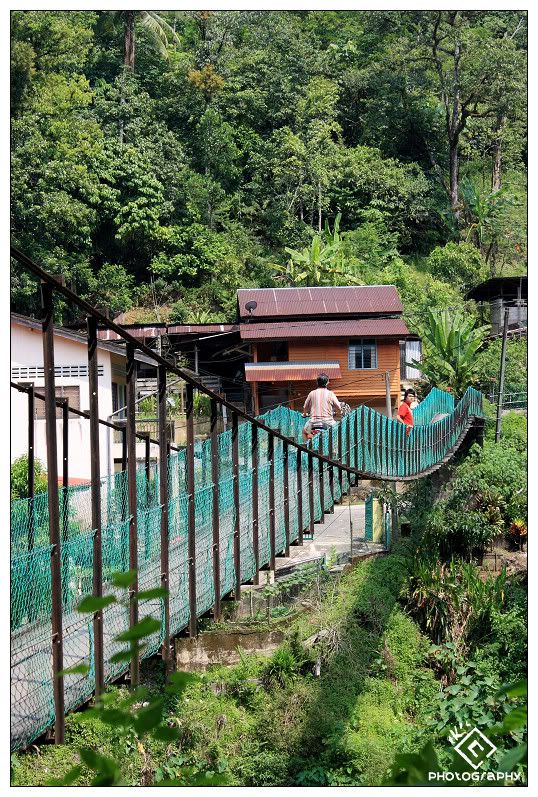


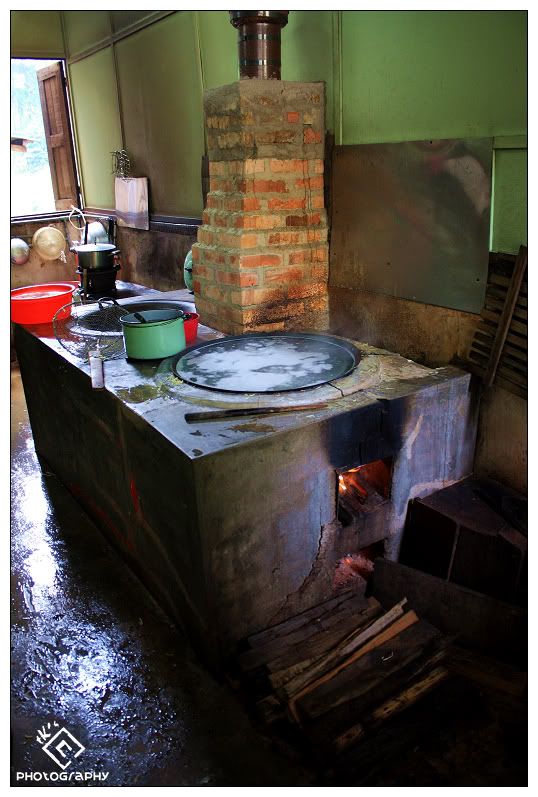
This is the noodle factory across the bridge, located in on of the small shop house. The noodle is partially machine made due to demands.


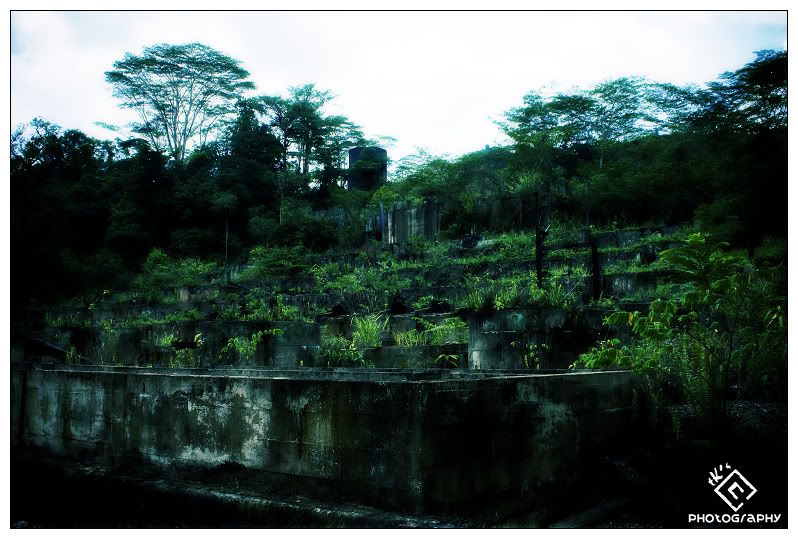
After that, we pay a visit to the abandoned tin mines & tin factory. Off course, we did not go in as it is very dangerous.
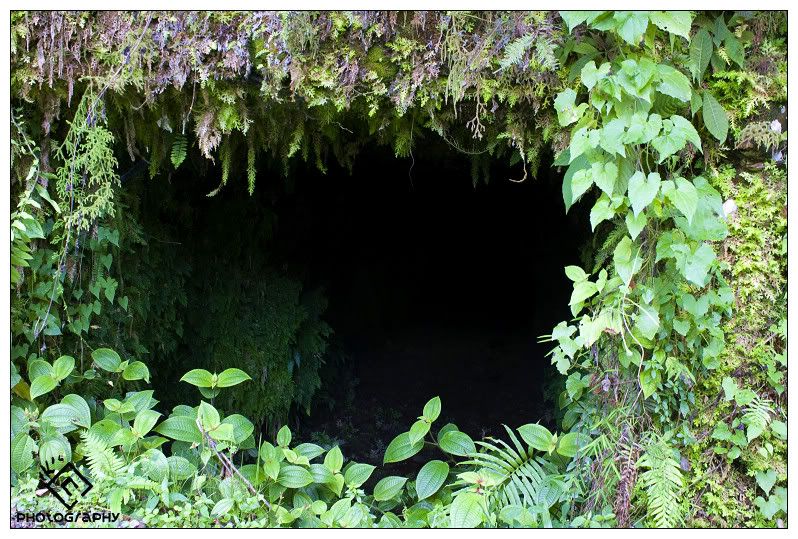

(Scary underground mines)


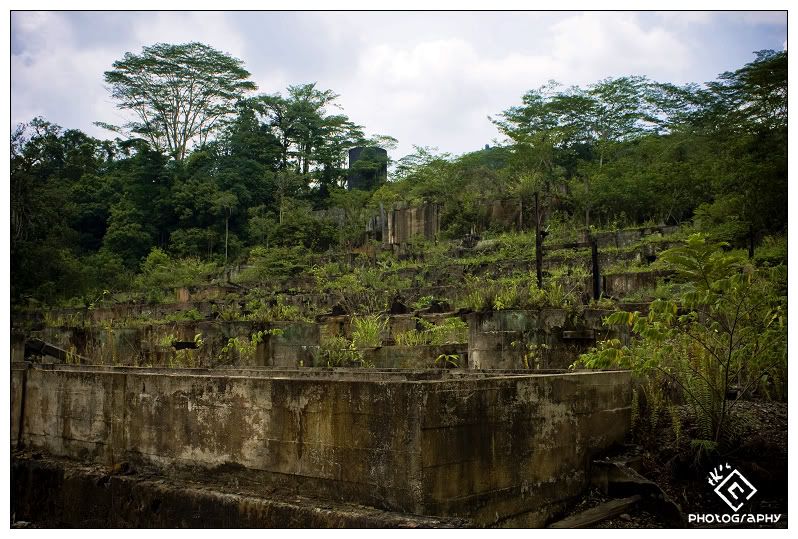
(Abandoned tin factory site - post-processed with blue tint, for original colour, click here)
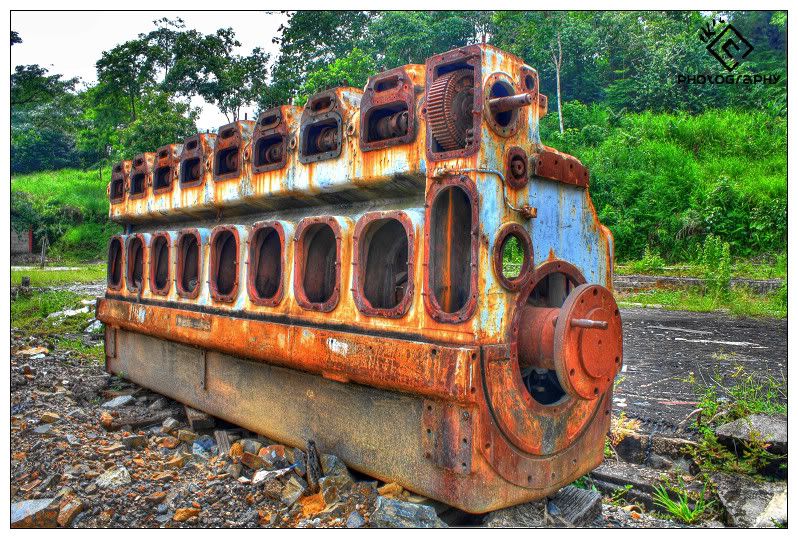

(Remainings of abandoned machine, HDR technique applied)


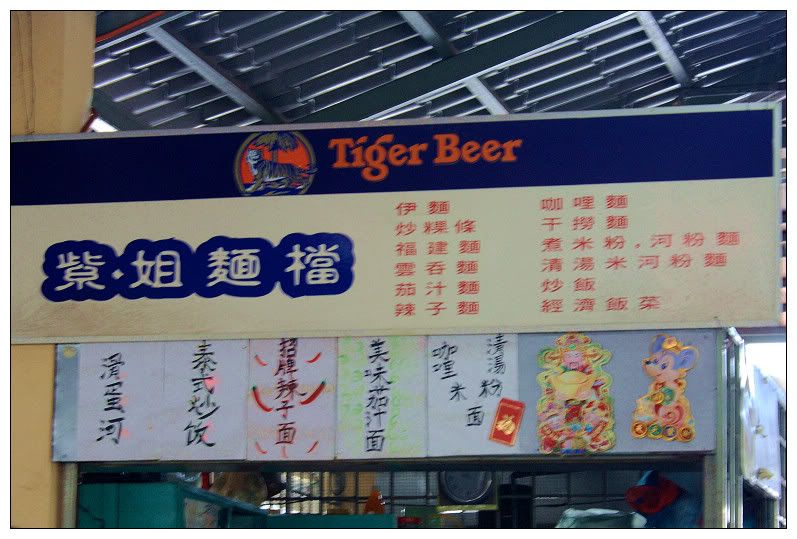
After a simple walk, we head back to the town to have our lunch before we return to KL. It is sad that the Lembing Noodle & tōfu is being recommended too much, over exaggerated in my opinion, until other dishes are not known to public. For example, this Kung Pow-styled noodle (招牌辣子面) which is very delicious and this Hokkien Fried Noodle (福建面) is no where behind the Kung Pow Noodle as well. Too bad I never heard any ppl recommend it, so I'll be the first one. It is a must try dish in Sg. Lembing.
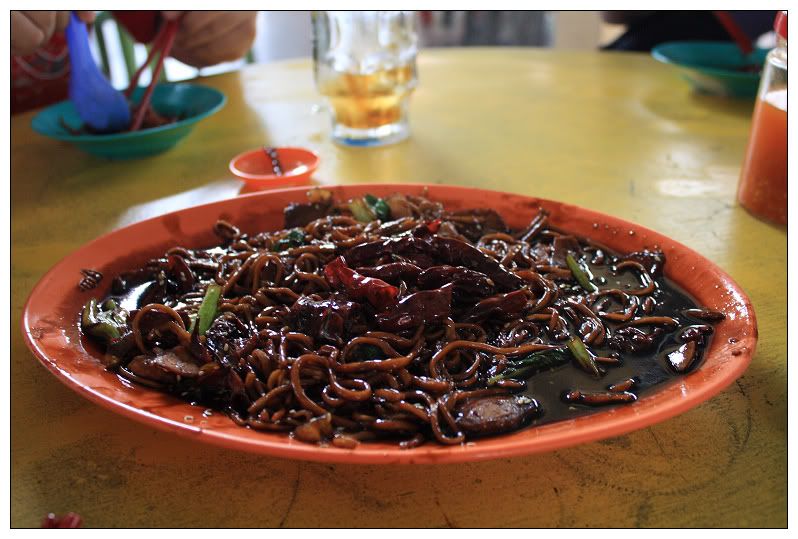


(Kung Pow Styled Noodle - oops, its already half finished when I took this photo)


(Hokkien Fried Noodle)


We started our journey around 1:15pm and reached KL around 4:30pm. I only spent approximate RM78 in this whole trip including petrol, toll fees, food & accommodation. Too bad we failed to see the sunrise, and this means this is not the last time we will go Sg. Lembing.

Kuantan + Sungai Lembing Trip - Day 1

Sungai Lembing (林明镇) is a small tin mining town located somewhere in Pahang, although the tin mines are being abandoned now, this town still attracts tourists during the weekend, mainly due to the Panorama Hill (林明山) & Rainbow Waterfall (彩虹瀑布).

We started the day at 7am, where I fetch clown, 闪灵 and Jay along the road. After having a simple breakfast, we head right on to Kuantan on the first day.

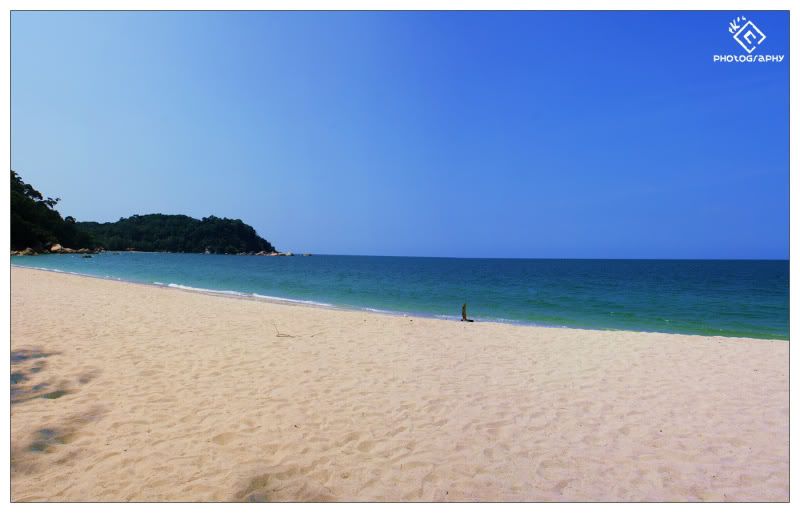
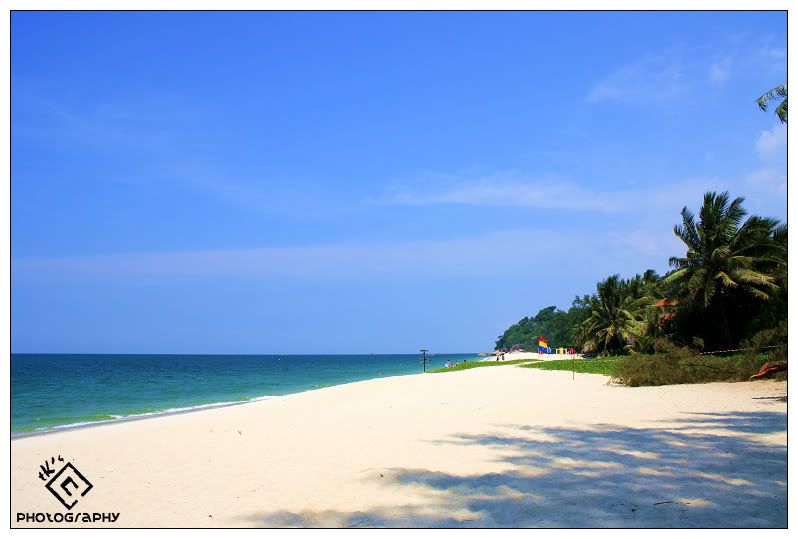
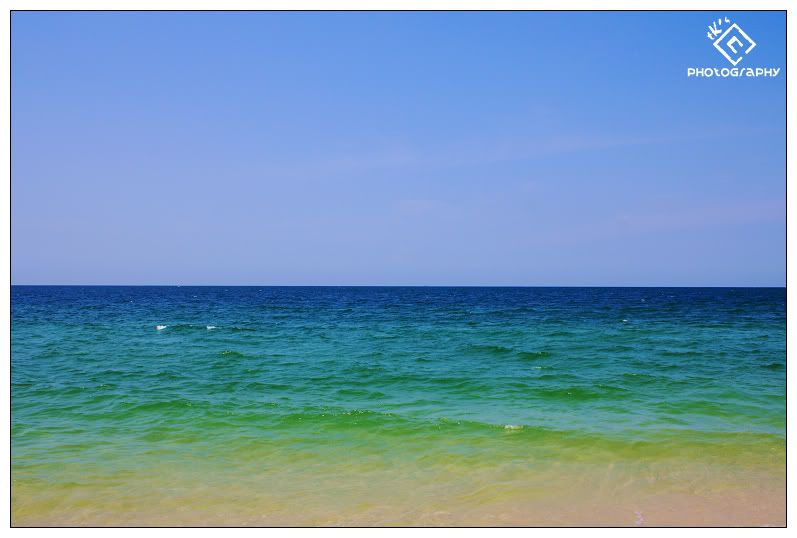
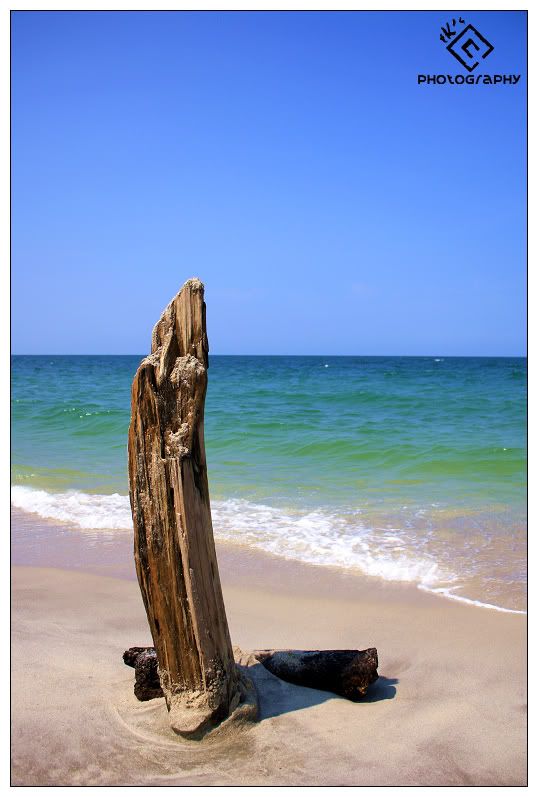
After a 3 hours drive, we reached Teluk Cempedak which is a famous beach in Kuantan. We enjoyed much of the beach although its kinda hot during noon.


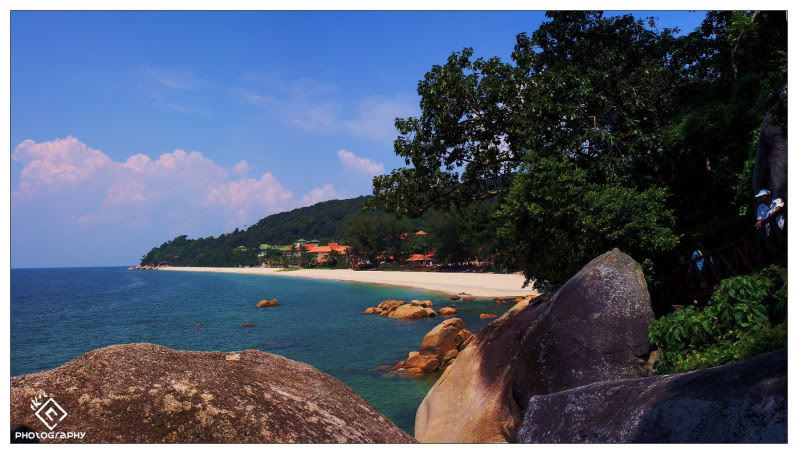
(Panorama View of Teluk Cempedak)


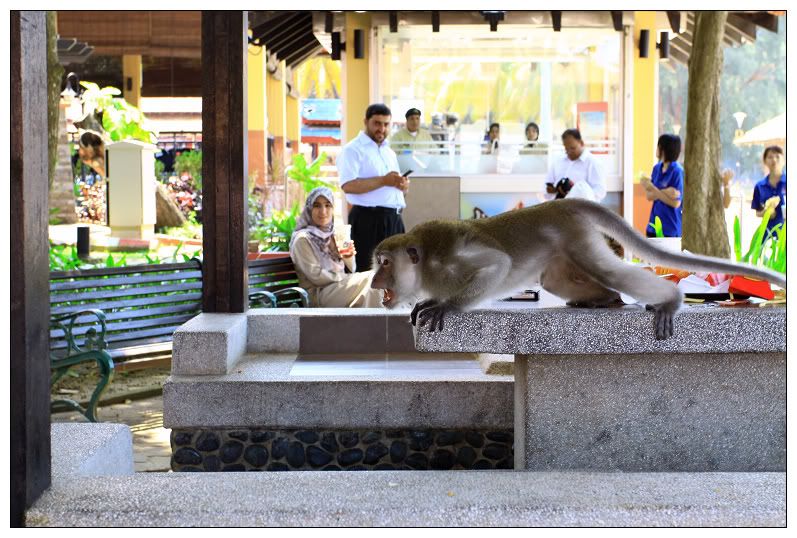
We almost had a fought with a furious monkey when we sit down & enjoy the breeze. I tried to prevent the monkey from grabbing the car key & wallet of the people next table.


(I'm the one fighting the monkey - photographed by clown)


Kuantan is quite boring actually. We decided to stay no longer and went to some shopping mall to buy some food for supper. I intended to have a look at Carrefour Kuantan (in East Coast Mall) but ended up in the wrong Mall (Berjaya Mall). This is not a company's trip so I did not insist to pay a visit to the outlet in Kuantan.

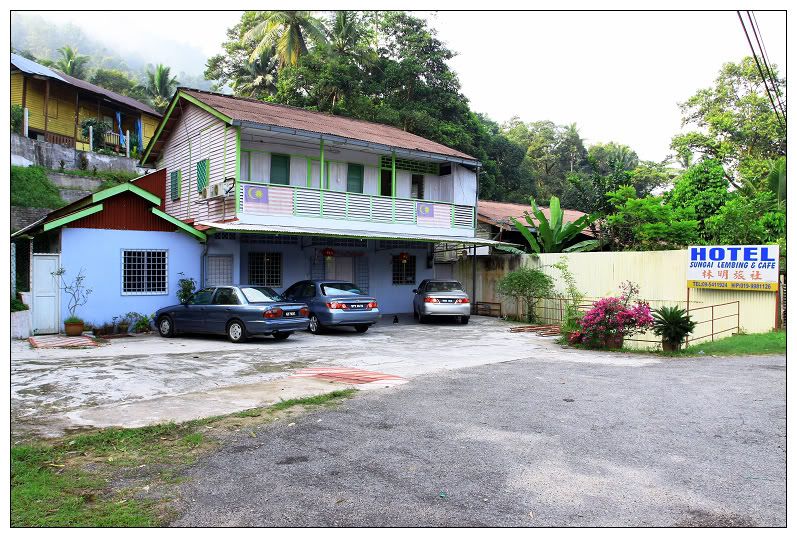
We head back to Sg. Lembing around 4pm. Staying in Sg Lembing is cheap. With RM15 per person, you can get a room with air-cond, hot shower and a kitchen. This is how it looks like:


(photographed by clown)


After checking in and we have nothing better to do, we decided to have dinner earlier and have a walk around the town during the evening.


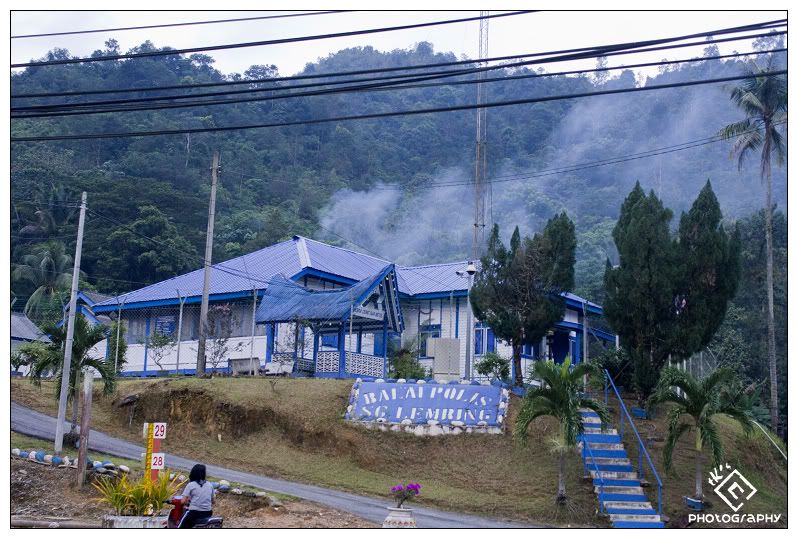
(Sg. Lembing is so small that even Police do not obey law, they are burning rubbish!)


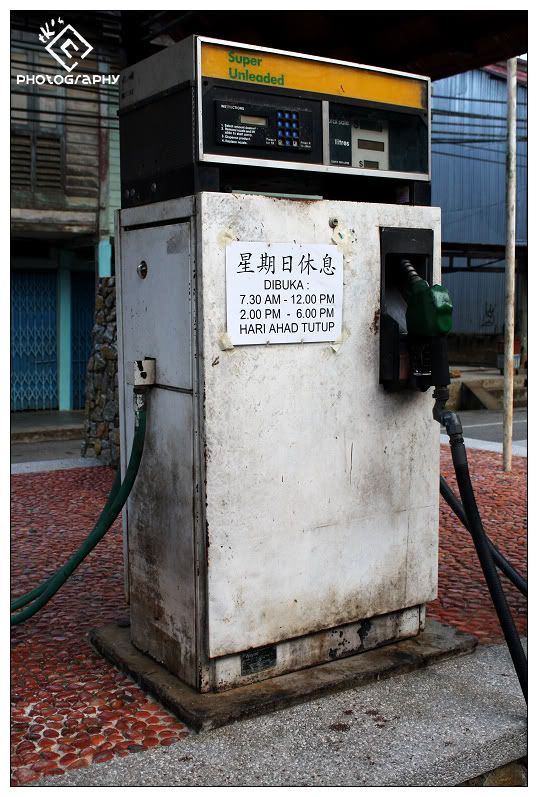
Sg. Lembing is very small, the main street is only less than a km long, with shop houses on 2 sides. Other parts are just residential houses & a football field. There is only 1 petrol station (or perhaps a petrol stand) in Sg. Lembing and this is how it looks like:


(the one and only, closed on Sundays)


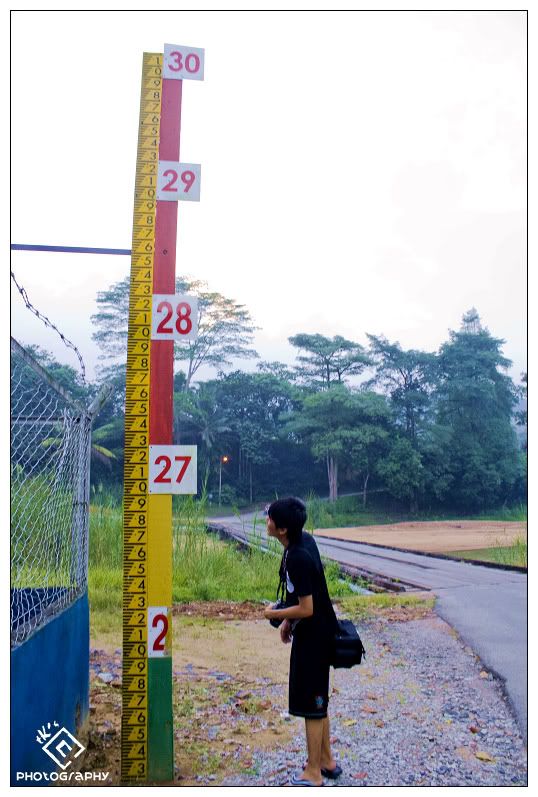
During later October to November each year, Sg Lembing will be flooded by water. The residents here are already used to it.

(flood level measure)


(small bridge that can only fit 1 car at a time)

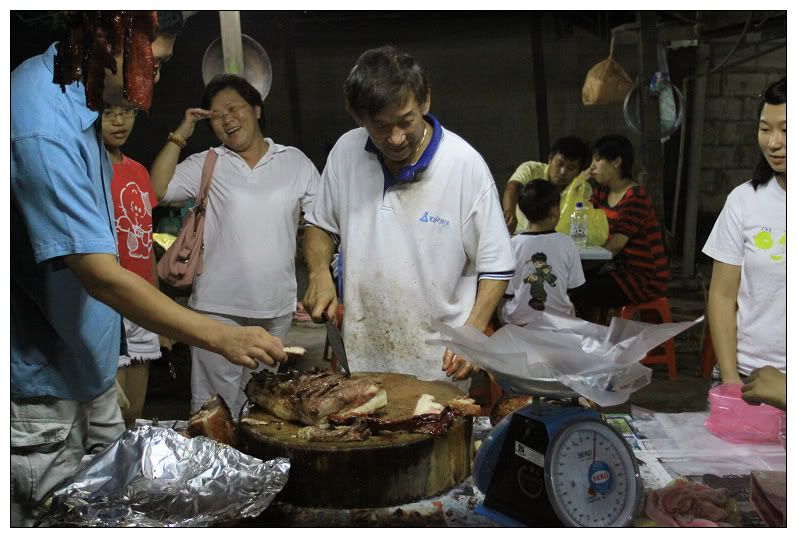
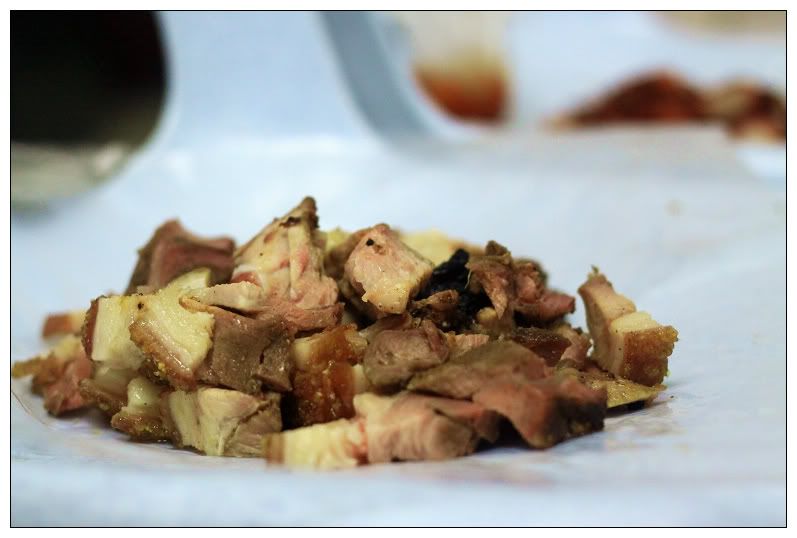
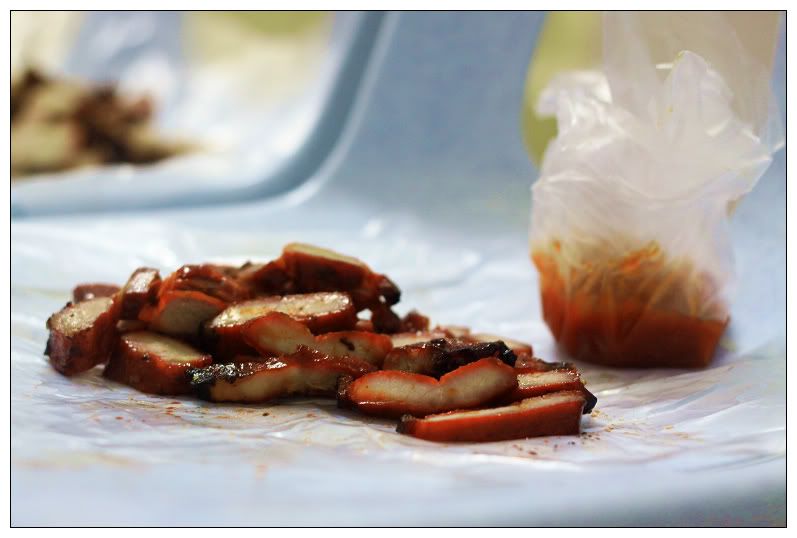
After sunset, we went back to have a bath and rest. There is a famous stall in Sg Lembing selling roasted pork (烧肉,叉烧) which is hidden beneath the residential area, named 柴香烧肉. After consulting the directions from the owner of the inn, we went to bought half kg of Roasted Pork, it only costs us RM20 which is very cheap. The stall only opens around 8pm each Saturday only. We reach there 8:30pm, and its almost finished.


(The famous 柴香烧肉 stall - photographed by clown)


(photographed by clown)


(photographed by clown)


The taste is awsome!! We eat the roasted pork while chatting the whole night. We went to bed around 11pm because tomorrow we will be waking up at 4am.

(to be continued in Part 2...)

June 07, 2009

Rennie

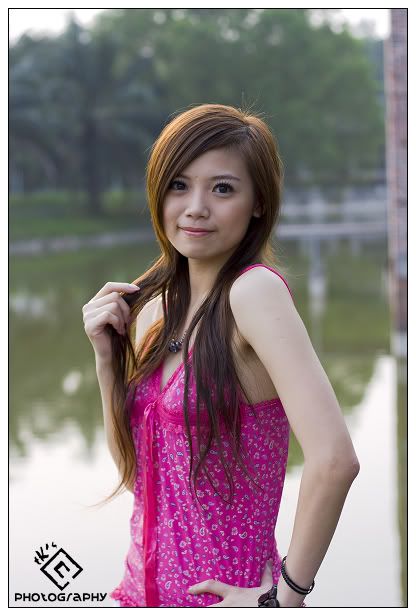
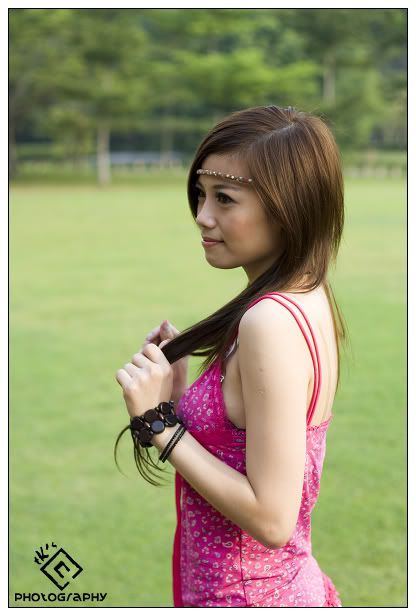
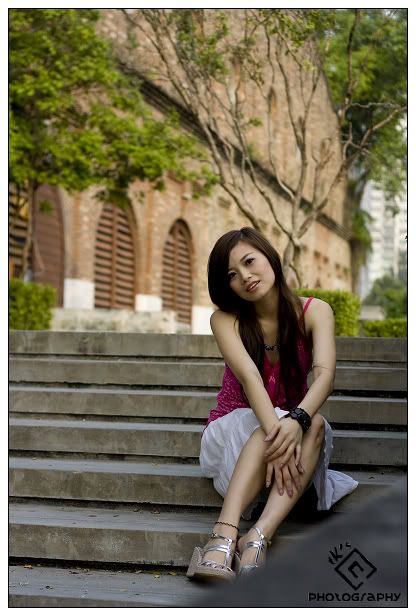
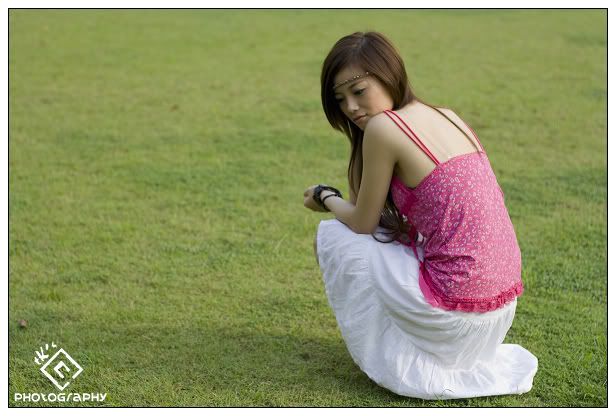
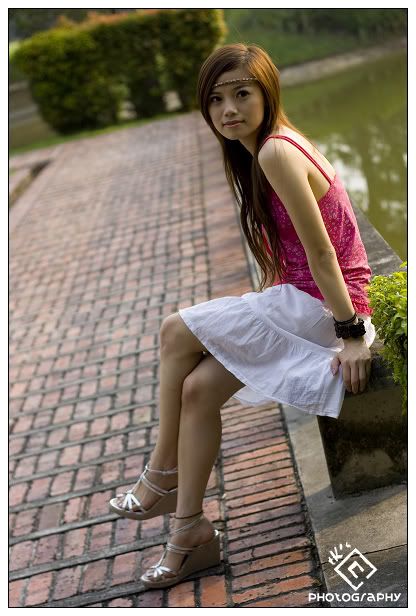
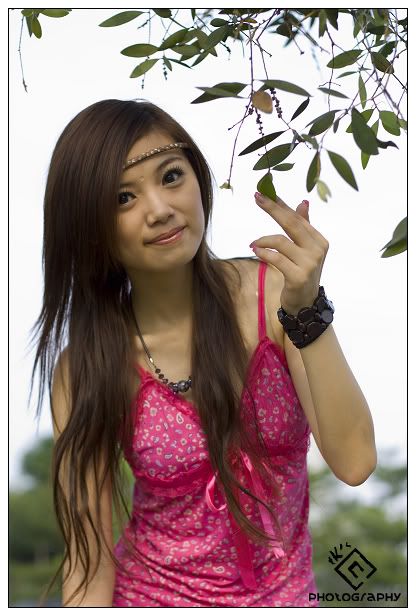
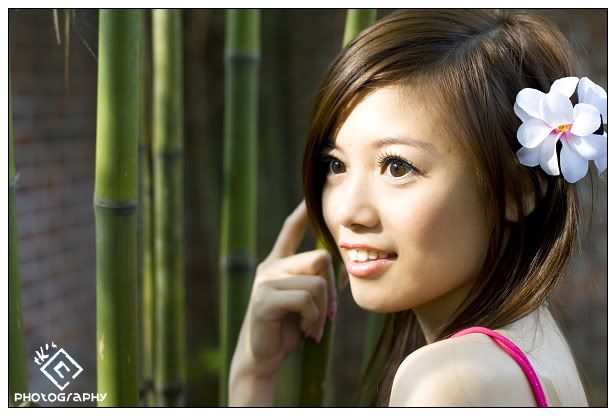
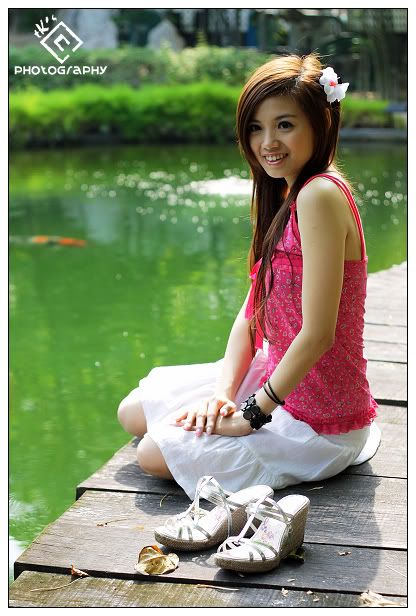
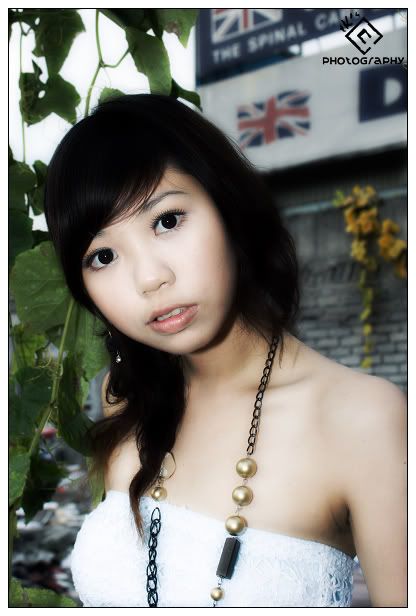
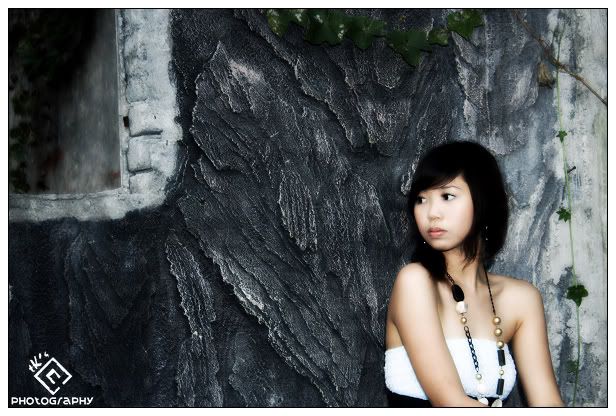
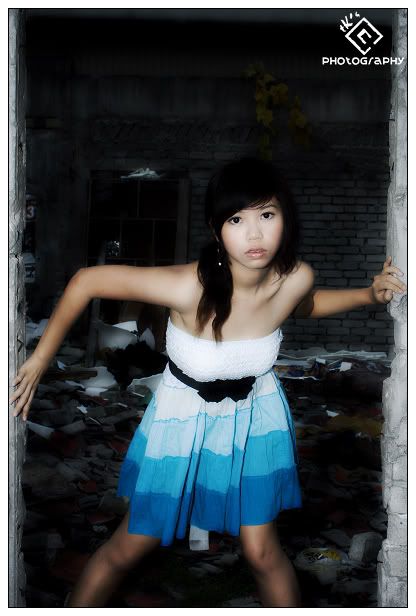
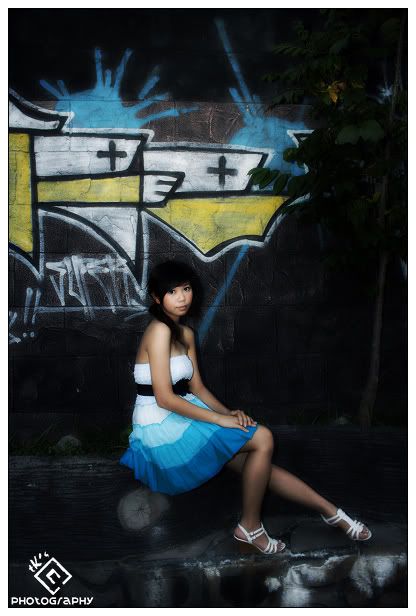
Remember the KL PAC post? Yeap we are back, now with models.

This session consists of 2 models & 4 photographers, so we are evenly divided into 2 vs 1 grouping. We actually planned to switch models between groups, however, we find it impracticable to do so in the field as the model already get used to us in the half way. So, Rennie stick to us (Jay & I) from beginning til the end.


This is a nice place to shoot, however, the biggest annoyance is - this is a private compound. Technically we must obtain permissions to take photo here. We are being stopped and chased away by guards for several times. As a result, we ended the session earlier than we planned.


This is her first time, but she performed very well. Hope to shoot with her again in the future. Thanks Rennie.


More can be found here:

http://www.flickr.com/photos/tktan_photography/sets/72157616420563900/

May 30, 2009

My Second Portraiture Session - dollydolly

This time is with dollydolly. Let the picture do the talking.


This time I tried something different by manipulating the tone & colours. Enjoy.
New Gears in the House IV

After few weeks of surveying and searching, I finally found a bag that suits my needs - the Lowepro Flipside 300.

The main features of this bag includes:

- Rear Access Compartment: Technically impossible to unzip the compartment and steal the camera without my consent.
- Flipside design: Simply flip the bag to the front and take the camera out without having the bag being placed on the floor. Quick access.
- Water Resistant Fabric: Can withstand minor rain pour, not completely waterproof though.
- Spacious Compartments: Although the bag looks slim, it can fit in a vast amount of gears.

Having decided to have a look on the real thing, instead of pics over the internet, I decided to pay a visit to one of the camera store.

My first impression of the bag when the shopkeeper passed me the bag was: "Wow its so slim and so light"

After trying the bag on the spot and bargaining on the price, I decided to bring this baby home.


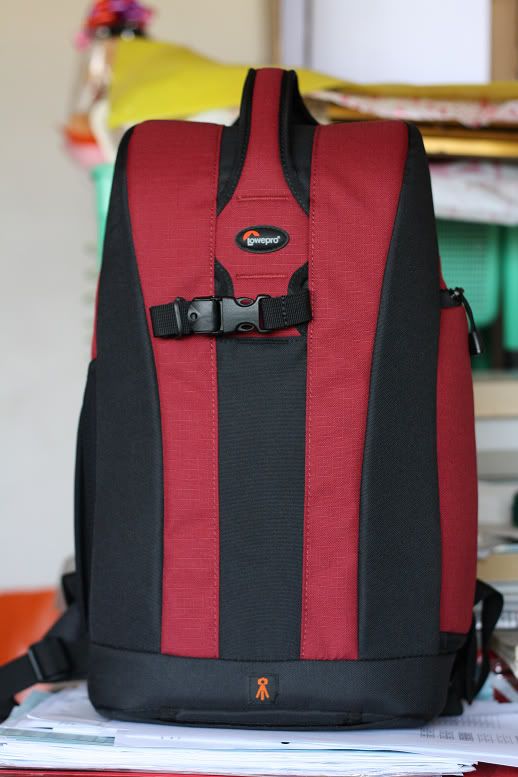
(Front View - No compartments of whatsoever, looks kinda weird to people who do not know this is a camera bag)


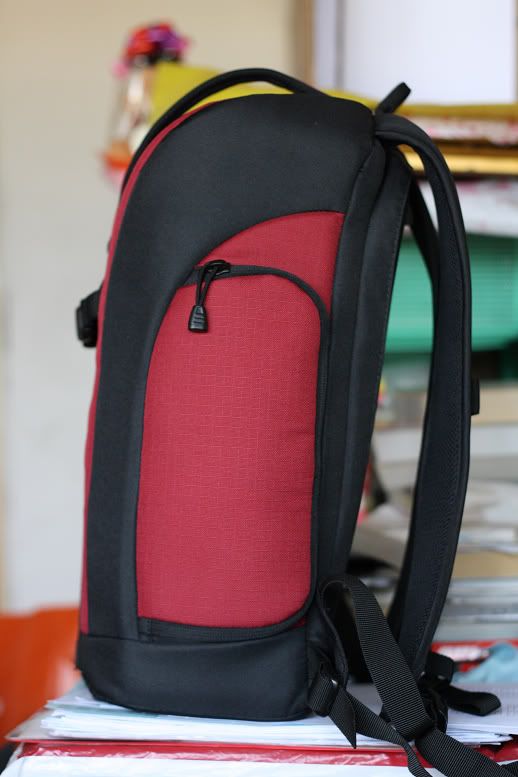
(The side with small compartment)


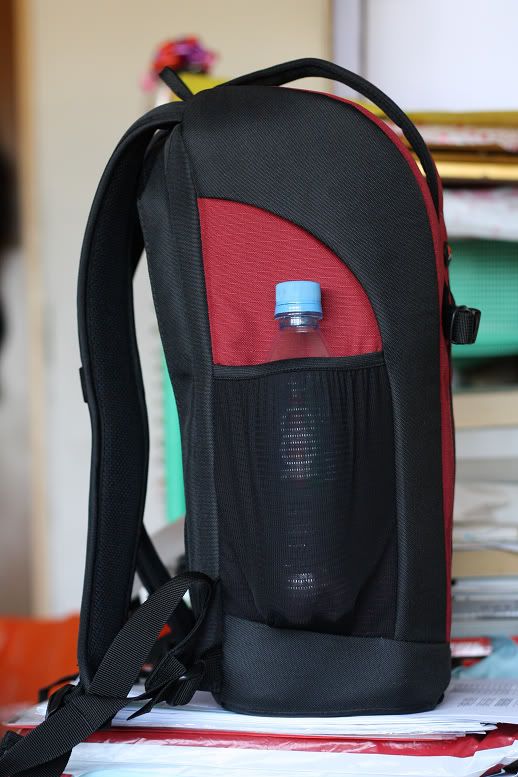
(Another side with a bottle pouch, a 100 Plus 500ml bottle was fitted in to show the size of the bag)


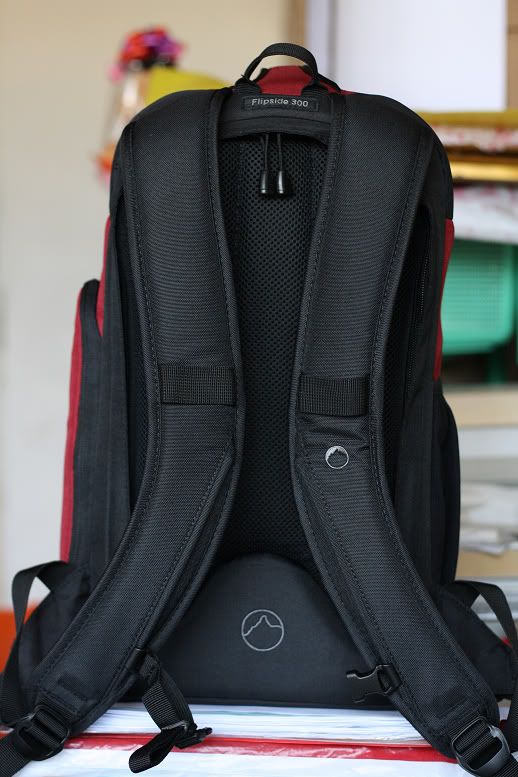
(Rear View - This is the place you take your camera out)


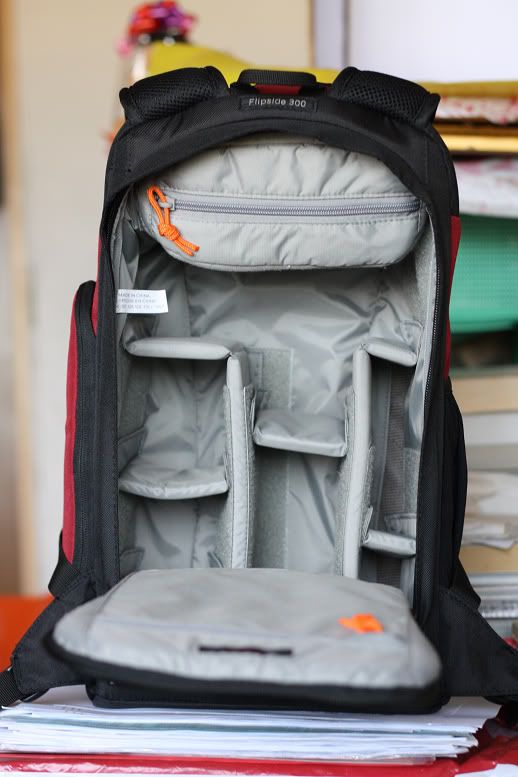
(Unzipped, showing the camera compartments, there is an accessory compartment on the top part which is completely removable to gain more space)


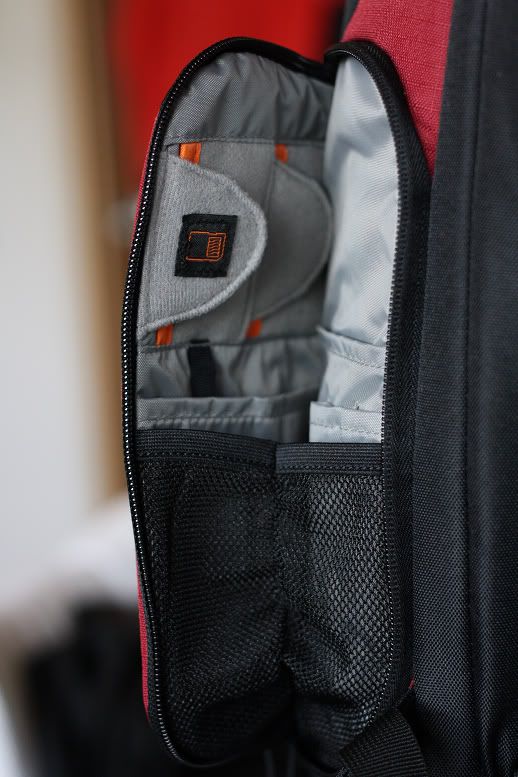
(Side small compartment for accessories like pens, memory cards & keys)


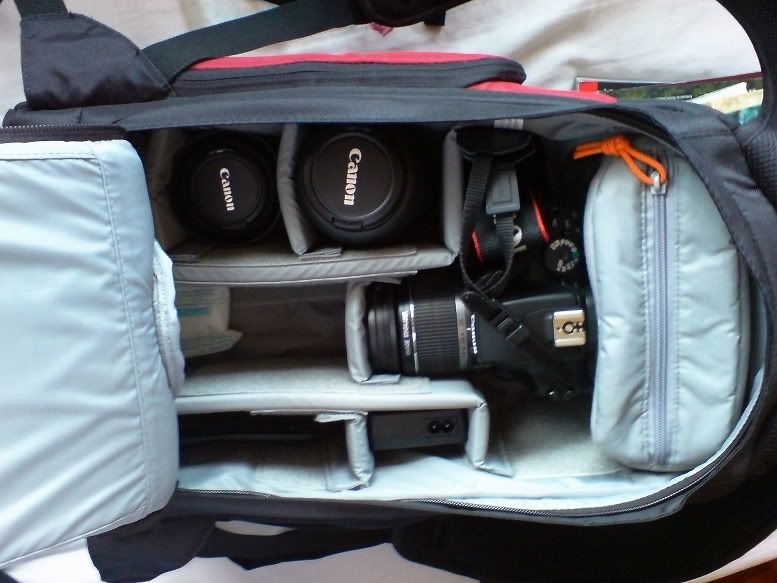
(Fully loaded with all my gears, sorry for the low quality pic)

As you can see, this bag can easily house a camera body with grip, 4 lenses (kit lens attached, 55-250mm lens with hood reversed, 50mm lens with hood retracted, and another 70-200mm [i believe not the f/2.8 IS version]), an external flash unit (which I dont have yet), and other small accessories. There are still spaces beside (left in the image) my 50mm lens, it is just not shown in the pic.

After I put all my gears in, there are still plenty of empty space in it. This bag can hold a tripod on its outside via a concealed pouch. I will upload pics later as i lent my tripod to my friend, so I cannot demo it.

Pros:

1) Fit plenty amount of gears in it.
2) Rear access for extra security
3) Light & Compact bag (weights 1.3kg)
4) Tripod Holder

Cons:

1) Not enough padding on the waist belt.
2) No All Weather Cover
3) Small accessories compartment on the outside
4) Quite pricey (Perhaps its just me)

My Rating so far: 7.5/10

Price: RM400
Discount: RM 20
Net: RM380

Total spending to date: RM 3,940

OMG, the 4k margin is here~

Related Posts with Thumbnails