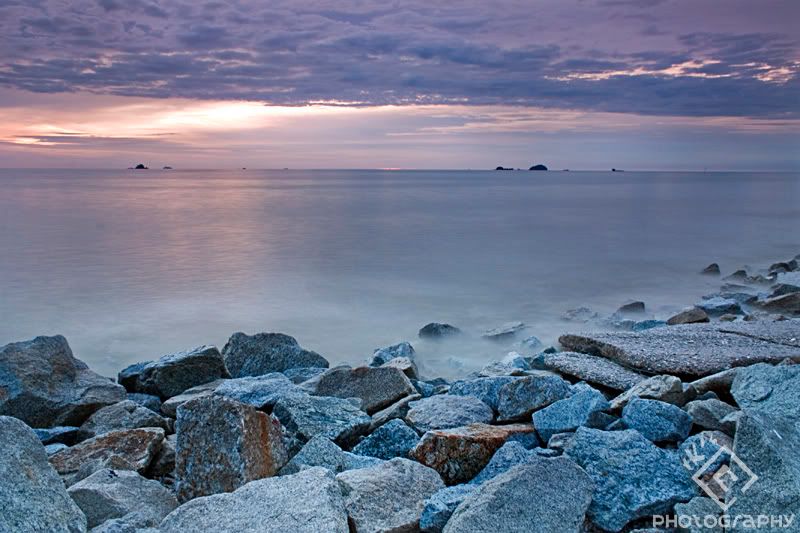
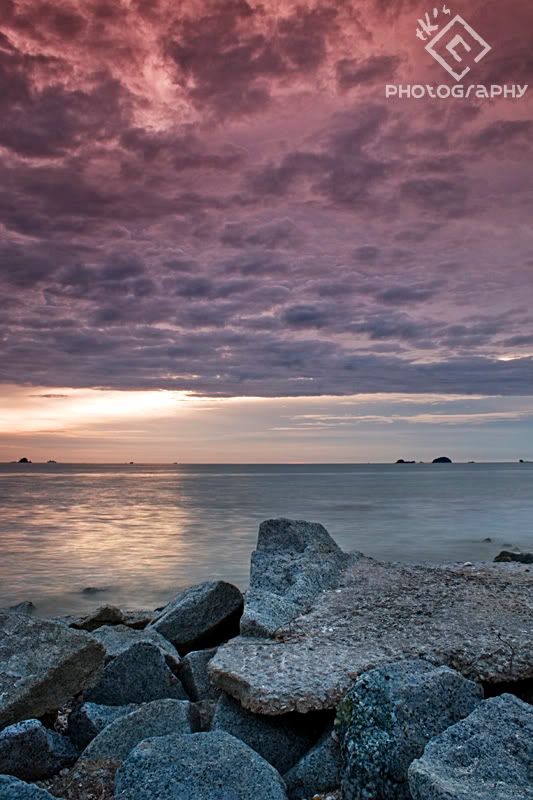
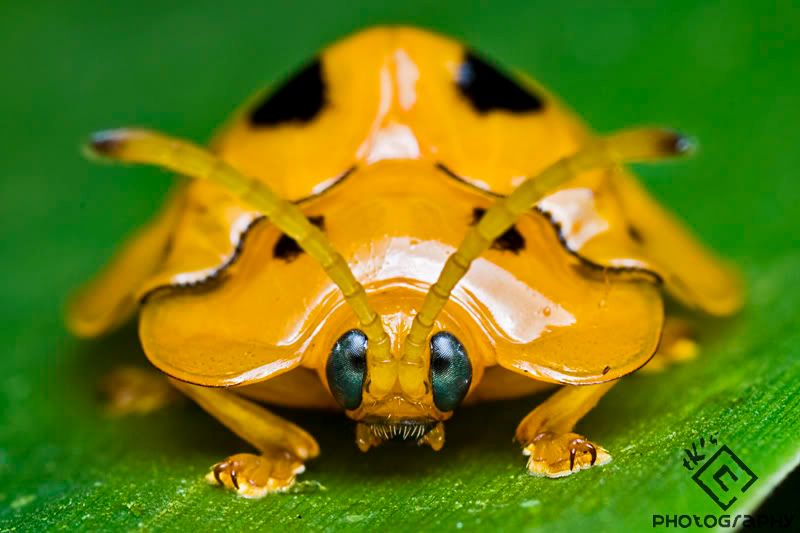
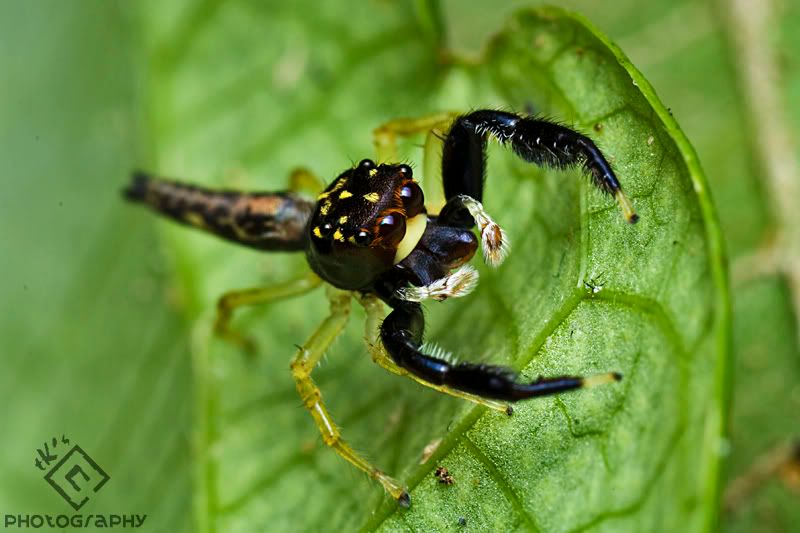
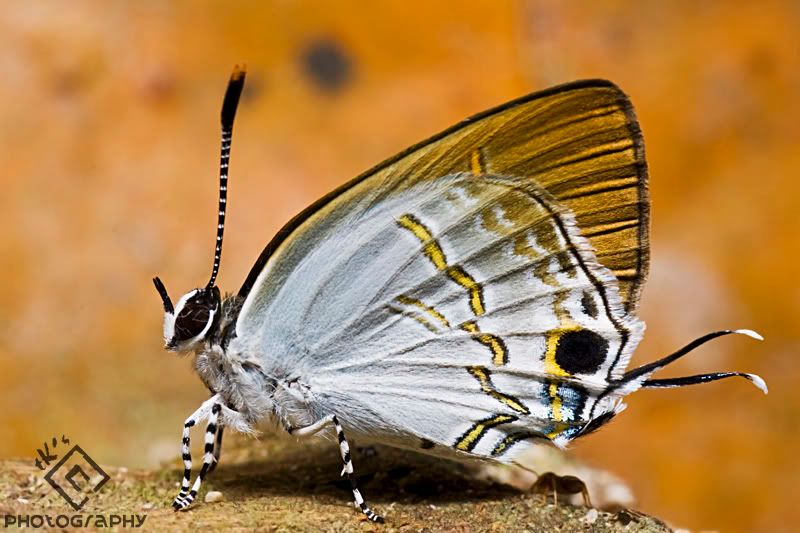
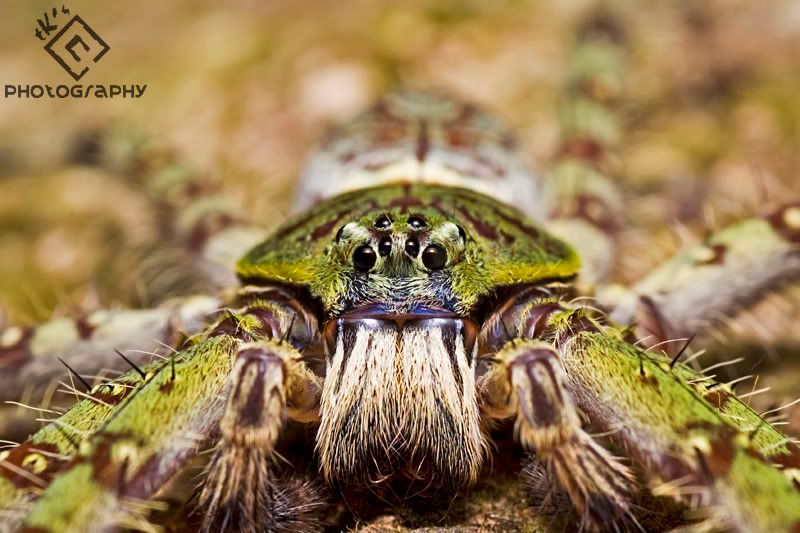
I planned a dinner with my friends at a restaurant nearby Tanjung Karang, we stopped by at Pantai Remis (nearby Kapar) to have some pics of sunset. However, it was very cloudy and we can hardly see the sun.
June 27, 2010
June 21, 2010
Bukit Tinggi 03
June 18, 2010
Ulu Yam 01
Its Ulu Yam this time with Phillip Wee. That place is famous for its "Lor Mee" (some sort of noodle, not my liking) and recreational waterfalls.
June 12, 2010
Ulu Bendul 01
Went Ulu Bendul with Master Liew (liewwk) and Philip Wee. Got to know few friends like Shunfa.
It started to rain around 2pm. Lucky my new bag is equipped with AW Cover (rain coat). Love it.
June 06, 2010
Water Drop Photography
I wanted to try this since I got my macro lens long time ago. However, due to my laziness, I never tried one until today.
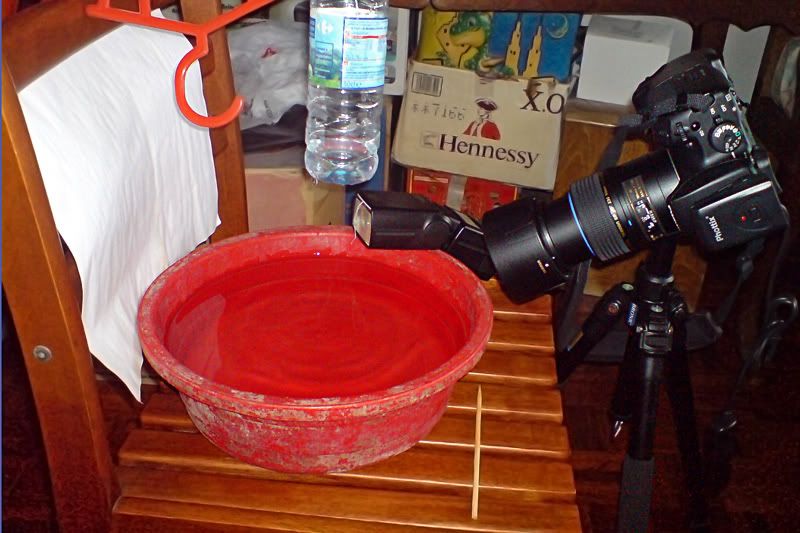
The set up was simple, but for first-timers, it's a little tricky. It may not be as easy as it seen.
The theory is the same with Smoke Photography, you'll need a tripod, an off-camera flash & preferably a macro lens. I used the same technique to focus on the water drop, pretty much similar to what I did in Smoke Photography. You will need to hold a pen/stick or whatsoever on the spot where the water droplets touches the surface, then use your camera's manual focus to focus on the pen/stick, and you're done with the focusing part.
I use an aperture of f/16 + 1/200, flash power set to around 1/4. I used some white paper to bounce my flash towards the water droplets and do not point the flash directly on the water.
After almost 30 minutes of set up, I'm done with it and start my shooting session.
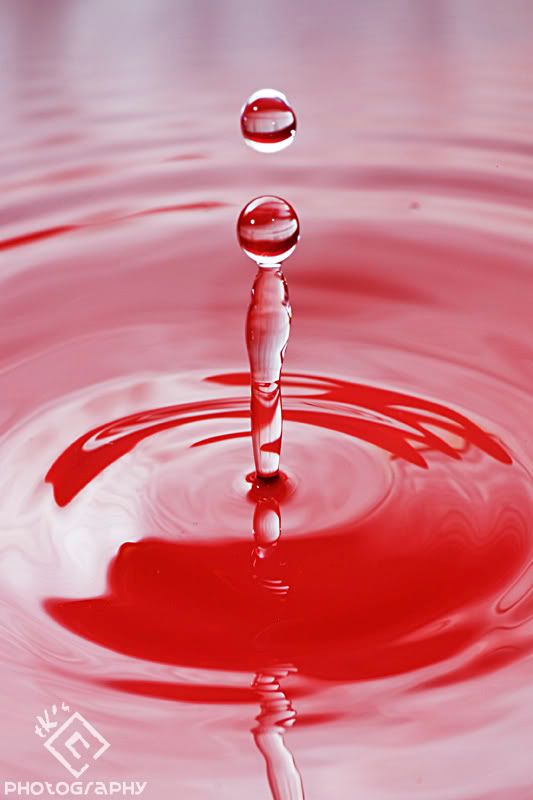
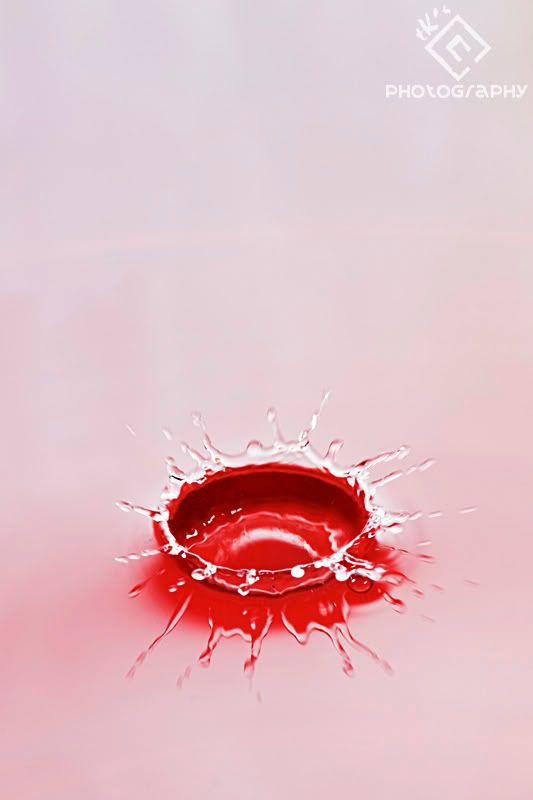
Because the container I used is red in colour, thus the water droplets appear red. I'll just stick with it.
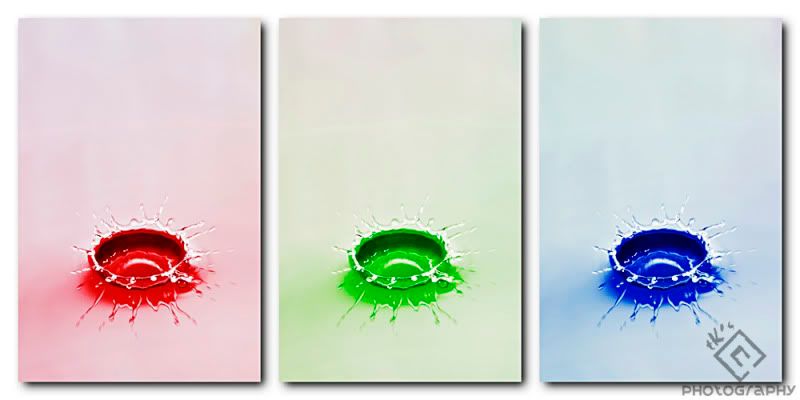
What about this 3-Colour Collage? I bet it'll look nice on big canvas prints!
The set up was simple, but for first-timers, it's a little tricky. It may not be as easy as it seen.
The theory is the same with Smoke Photography, you'll need a tripod, an off-camera flash & preferably a macro lens. I used the same technique to focus on the water drop, pretty much similar to what I did in Smoke Photography. You will need to hold a pen/stick or whatsoever on the spot where the water droplets touches the surface, then use your camera's manual focus to focus on the pen/stick, and you're done with the focusing part.
I use an aperture of f/16 + 1/200, flash power set to around 1/4. I used some white paper to bounce my flash towards the water droplets and do not point the flash directly on the water.
After almost 30 minutes of set up, I'm done with it and start my shooting session.
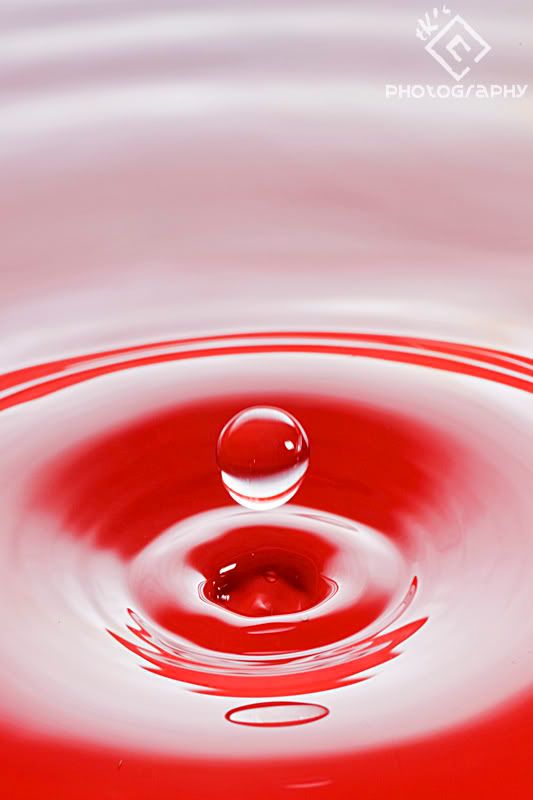
Because the container I used is red in colour, thus the water droplets appear red. I'll just stick with it.
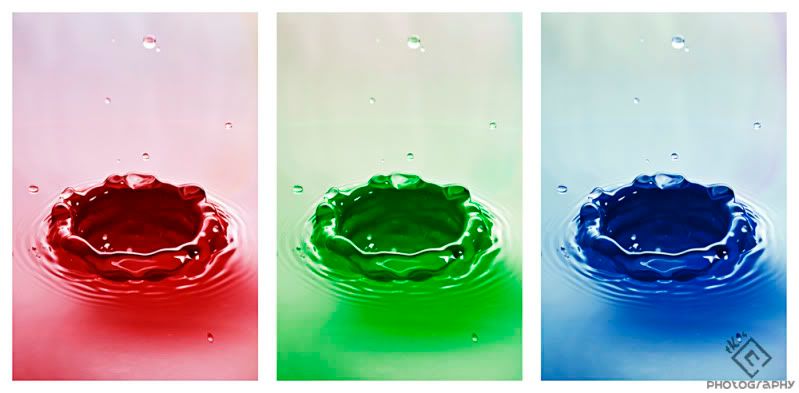
What about this 3-Colour Collage? I bet it'll look nice on big canvas prints!
Subscribe to:
Posts (Atom)