May 30, 2009

My Second Portraiture Session - dollydolly

This time is with dollydolly. Let the picture do the talking.


This time I tried something different by manipulating the tone & colours. Enjoy.

New Gears in the House IV

After few weeks of surveying and searching, I finally found a bag that suits my needs - the Lowepro Flipside 300.

The main features of this bag includes:

- Rear Access Compartment: Technically impossible to unzip the compartment and steal the camera without my consent.
- Flipside design: Simply flip the bag to the front and take the camera out without having the bag being placed on the floor. Quick access.
- Water Resistant Fabric: Can withstand minor rain pour, not completely waterproof though.
- Spacious Compartments: Although the bag looks slim, it can fit in a vast amount of gears.

Having decided to have a look on the real thing, instead of pics over the internet, I decided to pay a visit to one of the camera store.

My first impression of the bag when the shopkeeper passed me the bag was: "Wow its so slim and so light"

After trying the bag on the spot and bargaining on the price, I decided to bring this baby home.


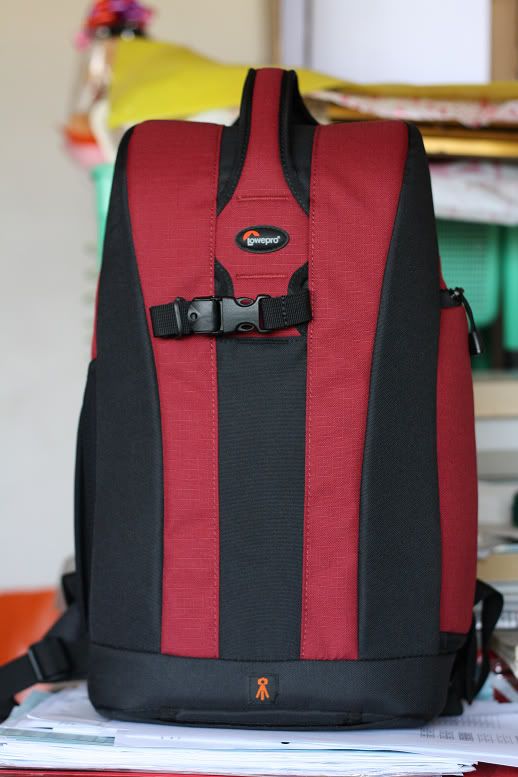
(Front View - No compartments of whatsoever, looks kinda weird to people who do not know this is a camera bag)


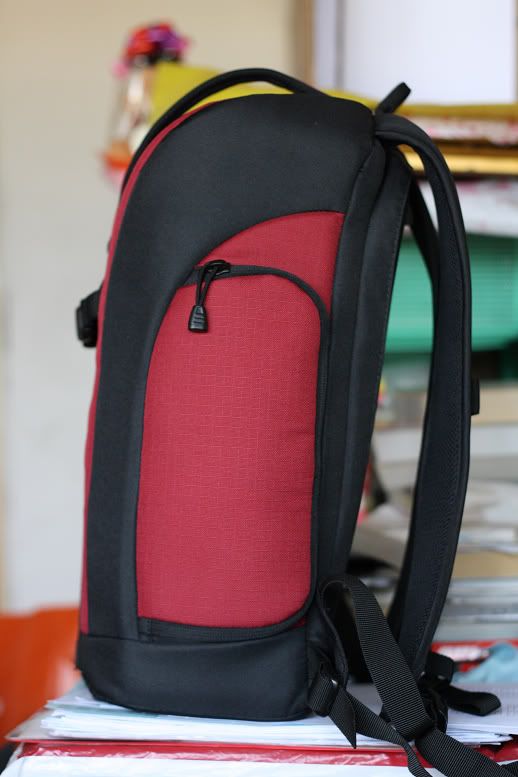
(The side with small compartment)


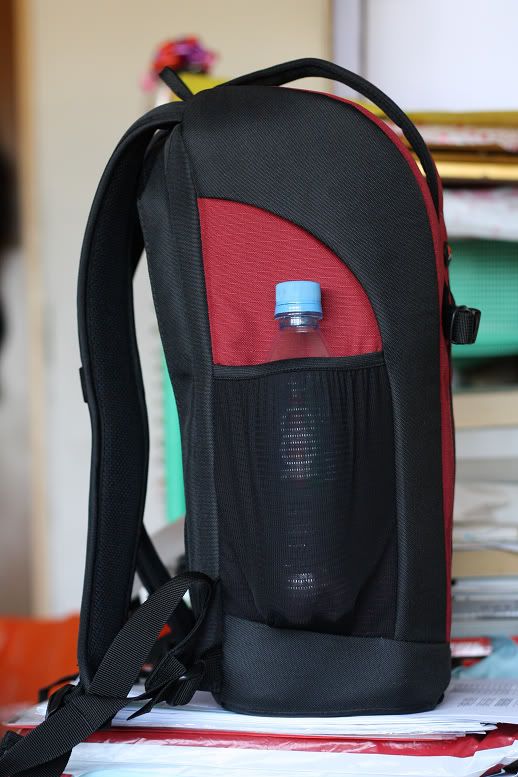
(Another side with a bottle pouch, a 100 Plus 500ml bottle was fitted in to show the size of the bag)


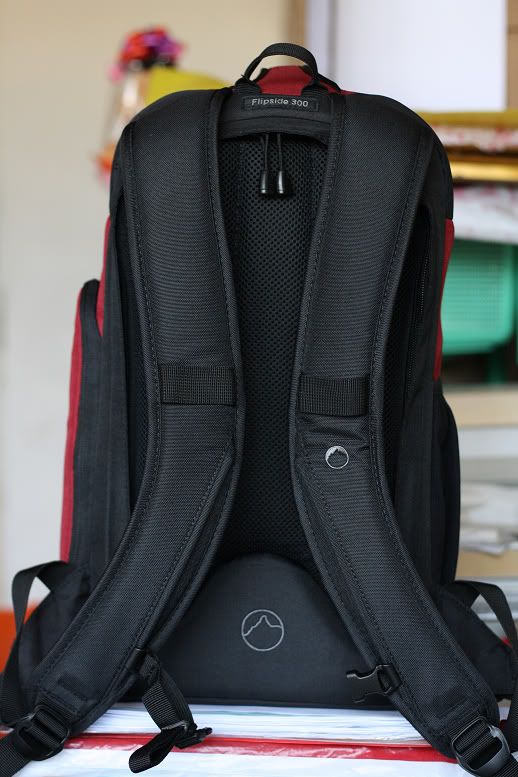
(Rear View - This is the place you take your camera out)


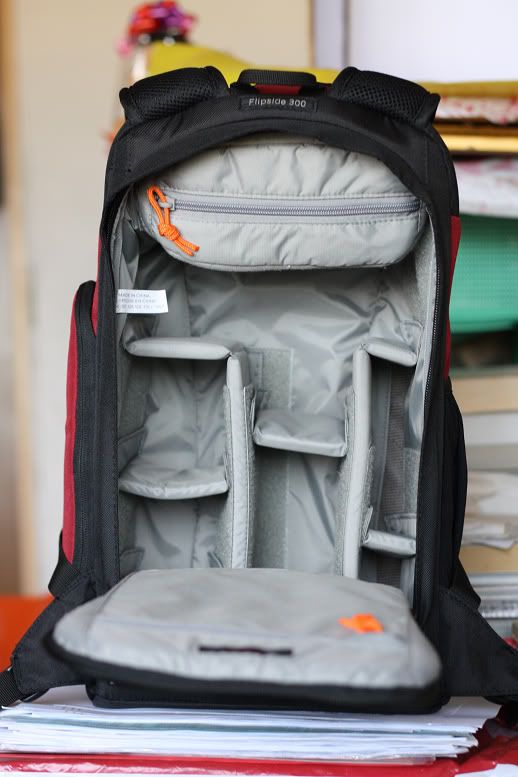
(Unzipped, showing the camera compartments, there is an accessory compartment on the top part which is completely removable to gain more space)


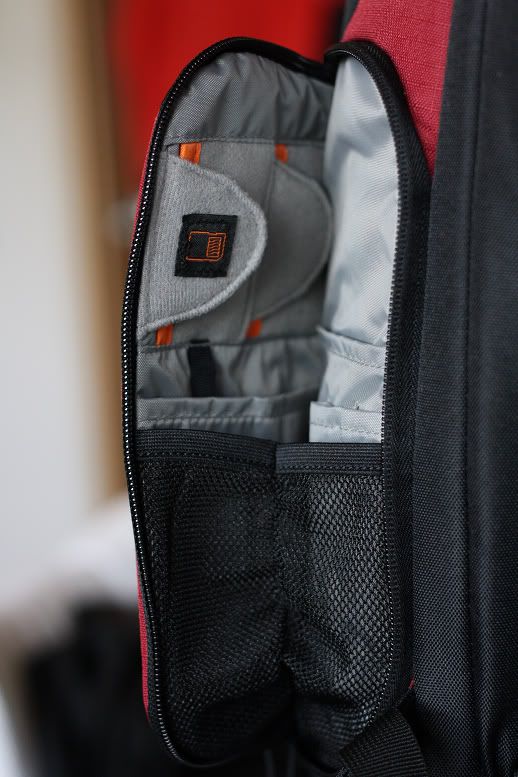
(Side small compartment for accessories like pens, memory cards & keys)


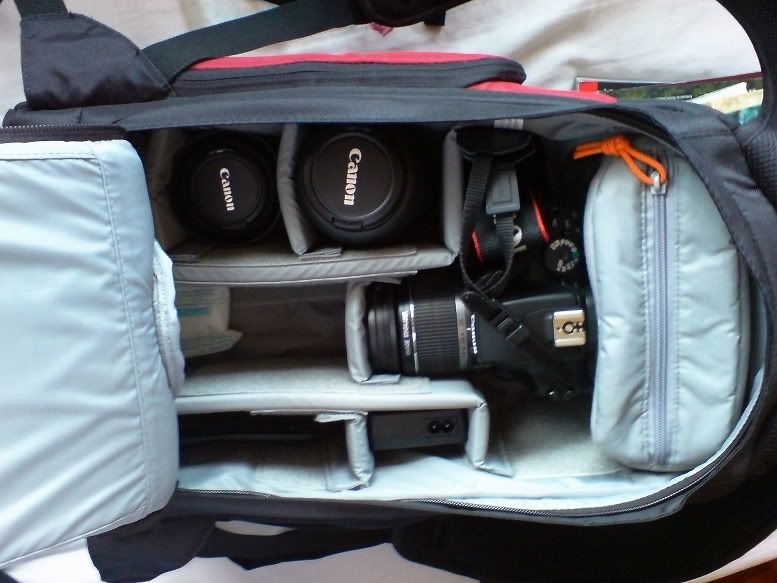
(Fully loaded with all my gears, sorry for the low quality pic)

As you can see, this bag can easily house a camera body with grip, 4 lenses (kit lens attached, 55-250mm lens with hood reversed, 50mm lens with hood retracted, and another 70-200mm [i believe not the f/2.8 IS version]), an external flash unit (which I dont have yet), and other small accessories. There are still spaces beside (left in the image) my 50mm lens, it is just not shown in the pic.

After I put all my gears in, there are still plenty of empty space in it. This bag can hold a tripod on its outside via a concealed pouch. I will upload pics later as i lent my tripod to my friend, so I cannot demo it.

Pros:

1) Fit plenty amount of gears in it.
2) Rear access for extra security
3) Light & Compact bag (weights 1.3kg)
4) Tripod Holder

Cons:

1) Not enough padding on the waist belt.
2) No All Weather Cover
3) Small accessories compartment on the outside
4) Quite pricey (Perhaps its just me)

My Rating so far: 7.5/10

Price: RM400
Discount: RM 20
Net: RM380

Total spending to date: RM 3,940

OMG, the 4k margin is here~

May 29, 2009

Photography Changed My Life

Photography changed my life. 118 days ago (the day I bought my first DSLR), I couldn't imagine I will be so keen to climb those beautiful hills and mountains out there.

After that Broga Hill trip, I fell in love with hill/mountain climbing + photography already. Although not those extreme ones (ie: Mount Everest etc), but I will be very excited when I imagine myself standing on the peak and taking photographs!

My next planned destination is Lembing Hill (林明山), this is a famous place for photo enthusiasts. After this is the sill-in-planning-phase trip to Mount Kinabalu!!

Getting from a couch-potato to an amatuer mount climber does not happen in one day. I have to train up myself, so, tomorrow will be my first day training for the Mount Kinabalu trip!!

Cheers =)

May 17, 2009

Broga Hill

Yesterday's fatigue still lies beneath my body without my notice. I only found out that my body is actually tired when I started to climb the Broga Hill (halfway). I am actually having a hard time climbing up. Some spots are so narrow that only 1 person may pass and the other side of the path is a cliff.

Perhaps the most famous landmark in Broga currently is the Broga Hill. Broga Hill is also called Bukit Lalang or 茅草山 which means literally means "Cogongrass Mountain".

The mountain is full of wild grasses called Cogongrass (Imperata Cylindrica). I started my journey at 6am. My friend suggested me to keep my camera in the bag when climbing to avoid any damages to it. So, no pics were taken when climbing up.

I wanted to try something new - the "Clear" picture style downloaded from Canon's official website. This picture style cranks up the contrasts and boosts the saturation. It is a little bit too over-process for me. Because of this, pics you see below will be in various colours, exposures and contrasts due to switching between picture styles.


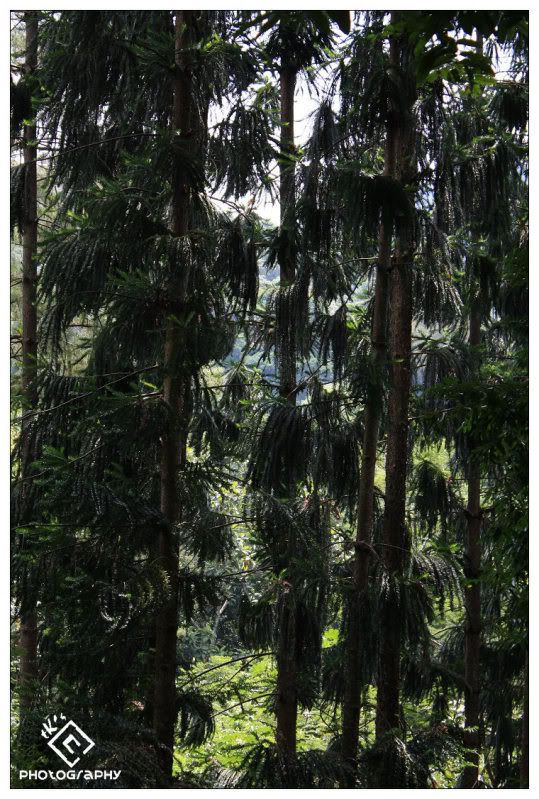
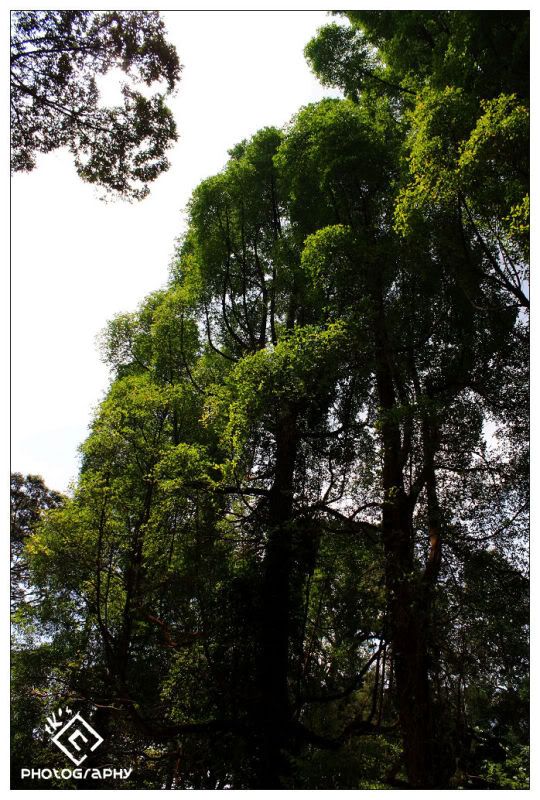
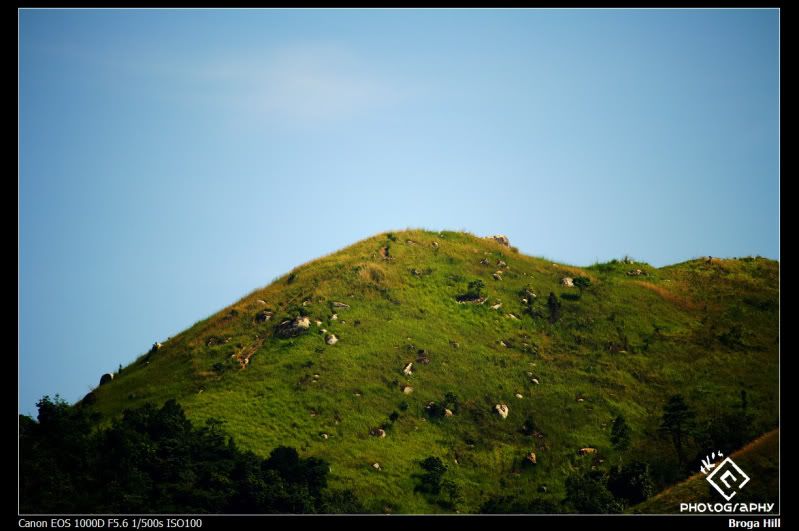
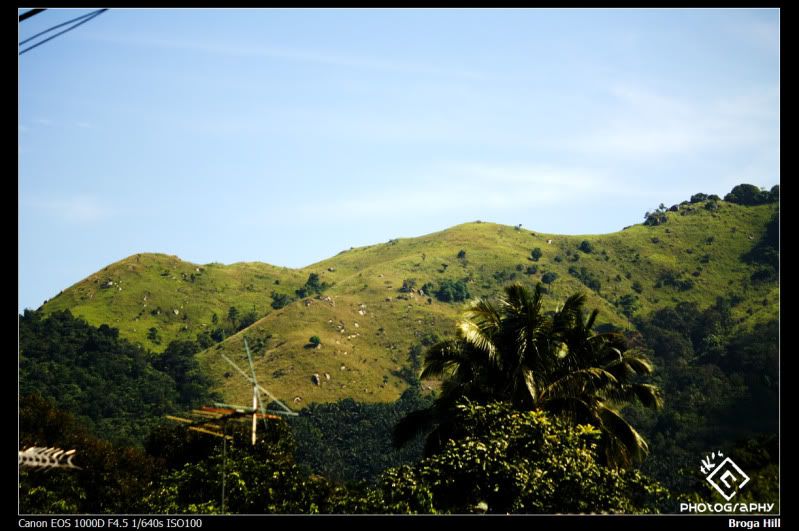
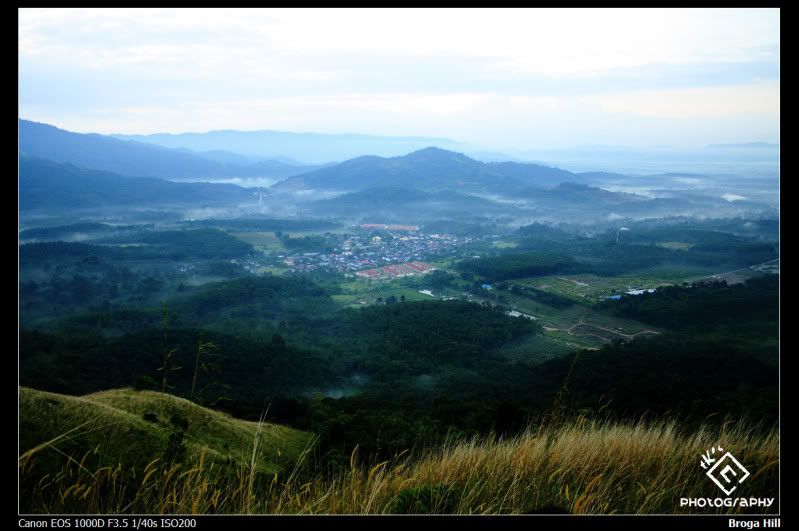
(One of the first few pics taken on the hill)


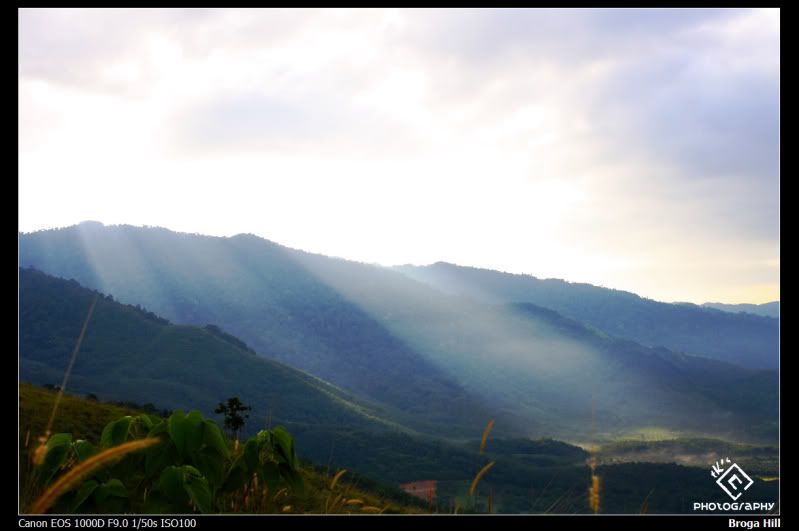
(Stunning light trails piercing through the clouds)


Great expectations comes with great disappointment. This hill is so famous now, it's become so packed. Look at the following pics, are they having a carnival here?


This really spoils my mood a bit. I have heard that this place is totally unknown to public 2 years ago and now its so famous thanks to the power of internet.


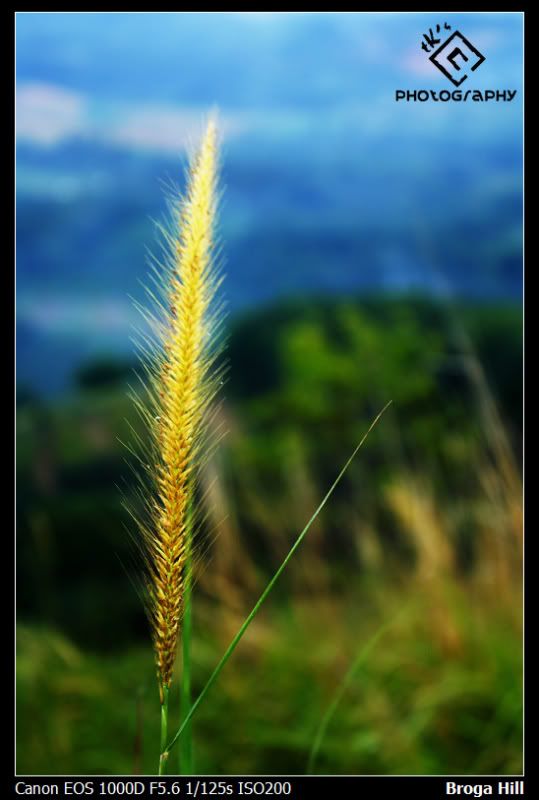
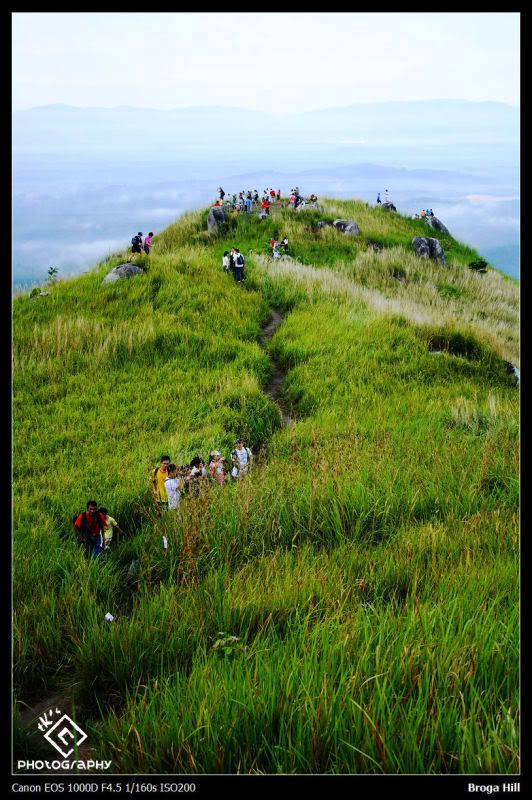
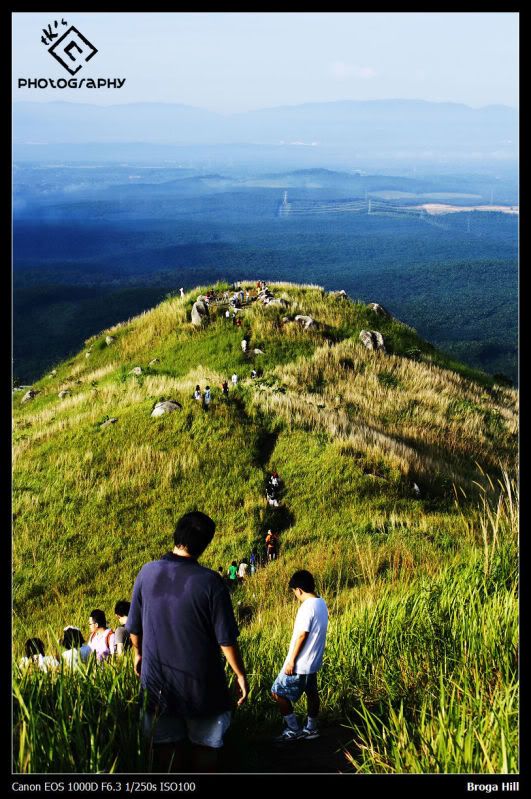
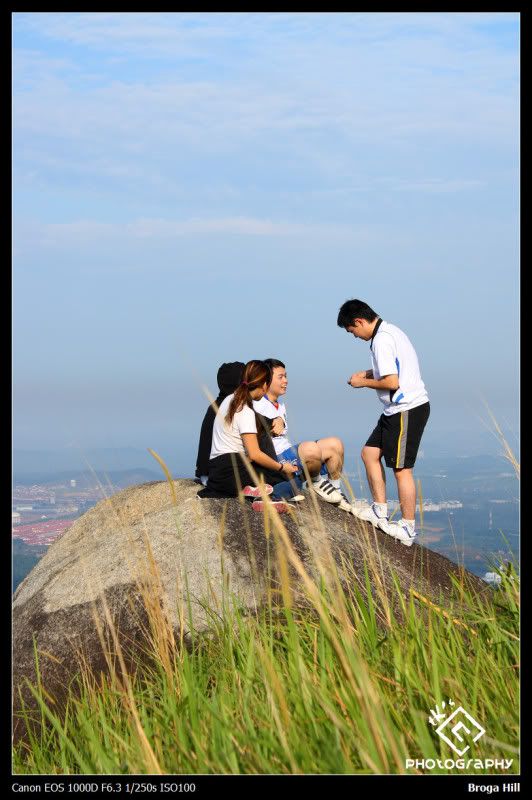
(I don't know who they are, but I like this viewpoint)


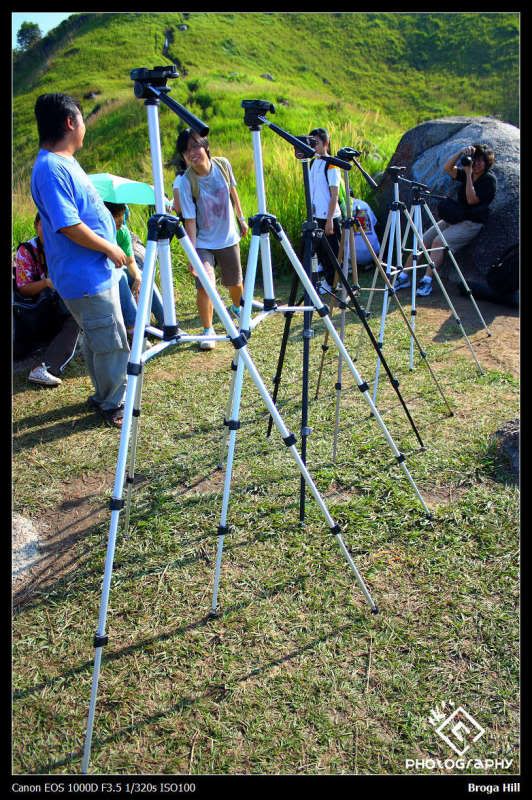
(everyone stops by and take pic of the nicely arranged tripods)


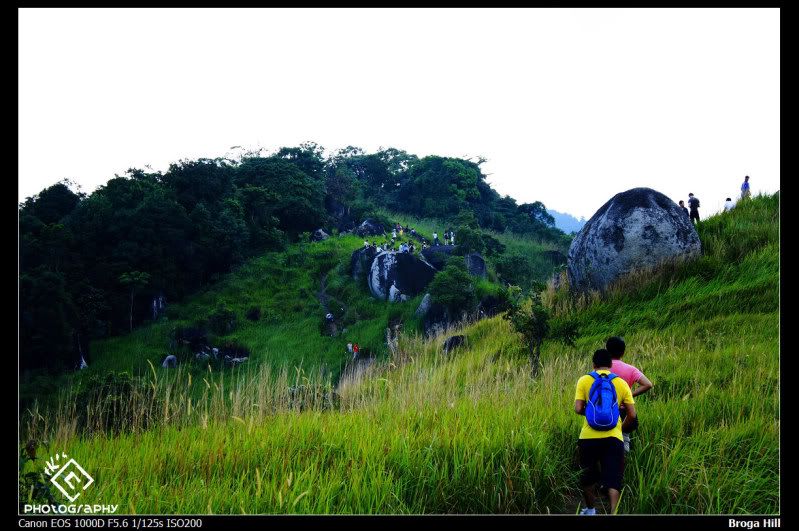
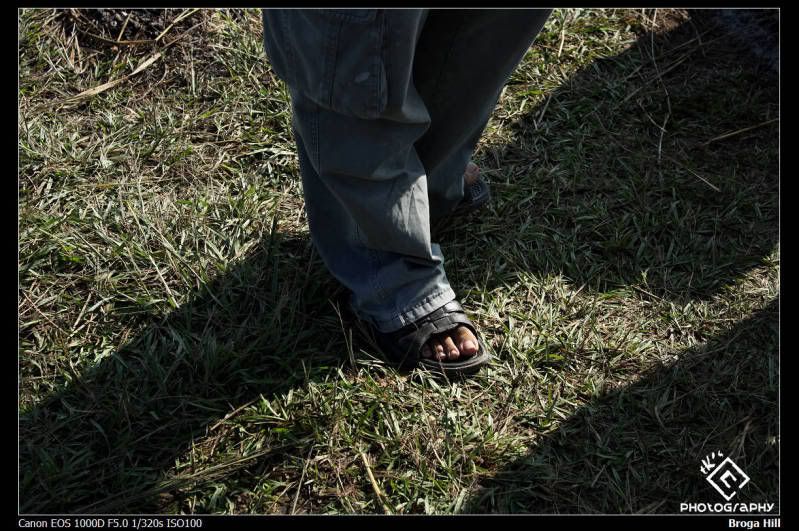
(I wonder how my friend got up here with his sandals)


Climbing down is harder but less fatigue compared to climbing up. When I reach the bottom, I felt that my body is falling apart. After a simple lunch, I quickly drive home and rest. Broga Hill certainly worth a visit although it is now very crowded during weekends, so my suggestion is go on weekdays.


(I believe this is the place we climb)


More pics can be found in my Flickr. Thanks for viewing.

May 16, 2009

Kepong FRIM

Kepong FRIM (Forest Reserve Institute Malaysia), as the name suggests, it's a forest reserve institution located in Kepong. I have never been there.

After having breakfast with my colleagues, we start our journey. I didn't know we have to pay to enter that place until now.

I'll just post some pics since most of the pics contains recognizable faces and I do not want to post them to avoid any unnecessary issues.


Kepong FRIM has nothing special. The main attraction - Canopy Walk is closed so I have no chance to visit. If you wanted to be here for its waterfall, my suggestion is save your time & fuel. The waterfall is so tiny that I don't even bother to take a photo of it. However, this is still a good place for you to relax and escape from the concrete jungle. Cheers.

May 10, 2009

Scouting

I was so boring yesterday, then I asked Chong whether he have any plans for shooting. He said he will be going KL Pac later on, around 5pm. I joined them (Chong & Jay) since I have nothing better to do.

This trip is actually a scouting trip. We are going new places to search for potential spots for out future portraiture photoshooting session.


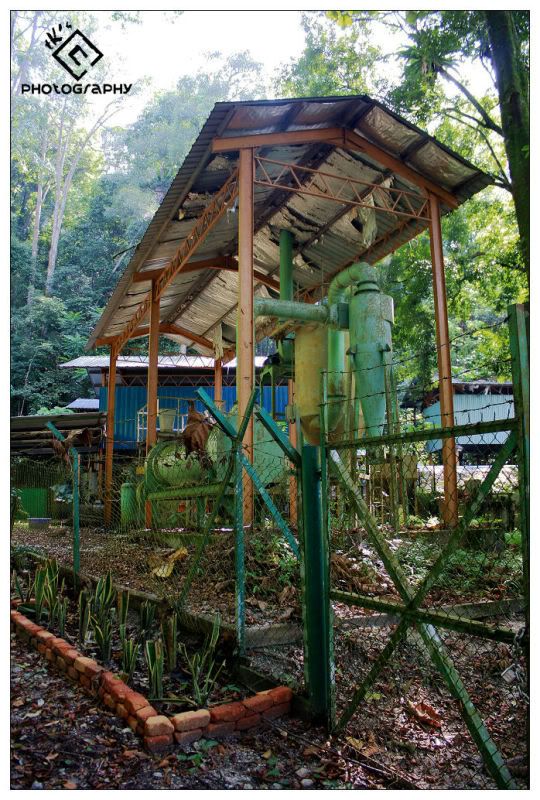
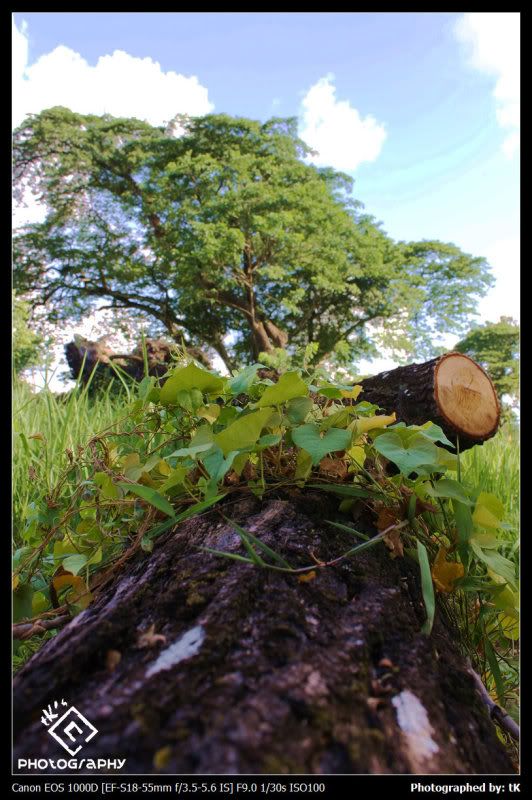
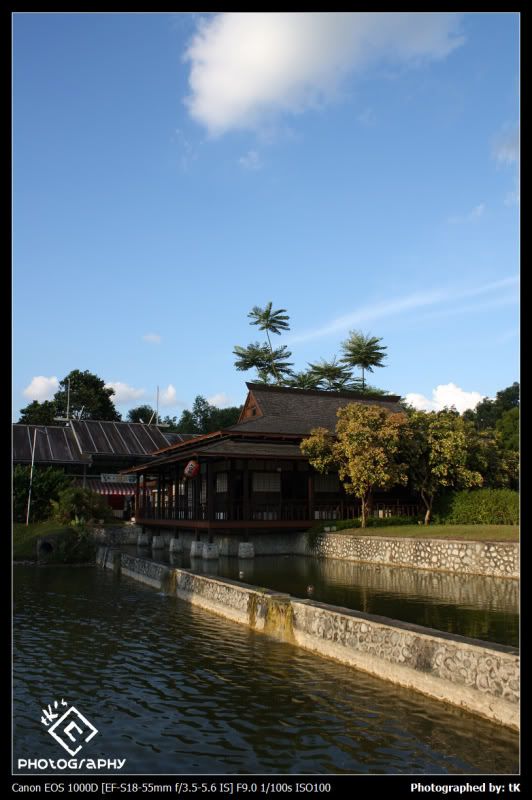
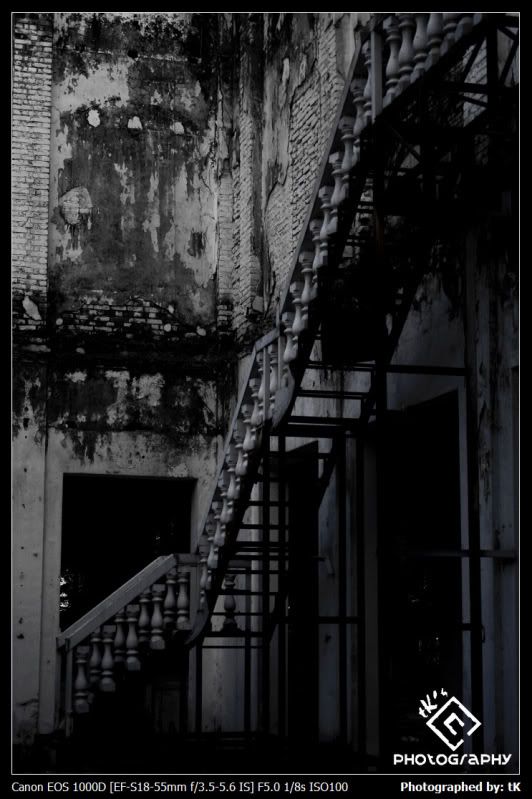
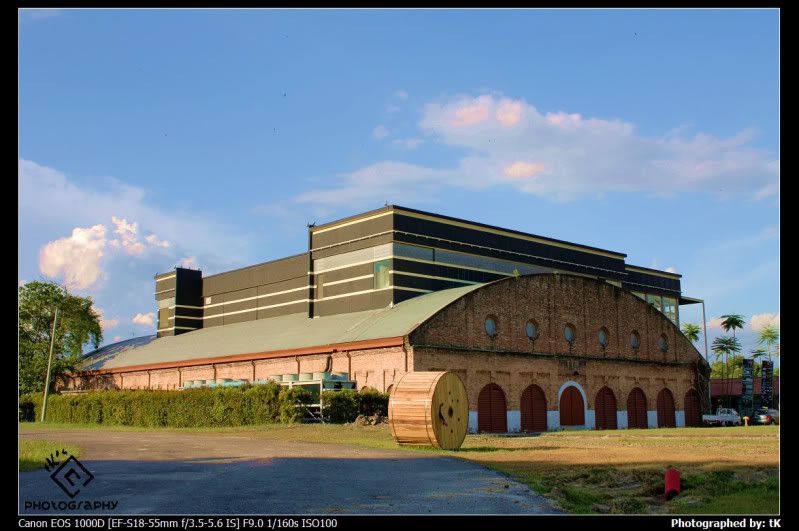
(This is a blend of 100 years old+ building with modern building)


(Japanese Restaurant)


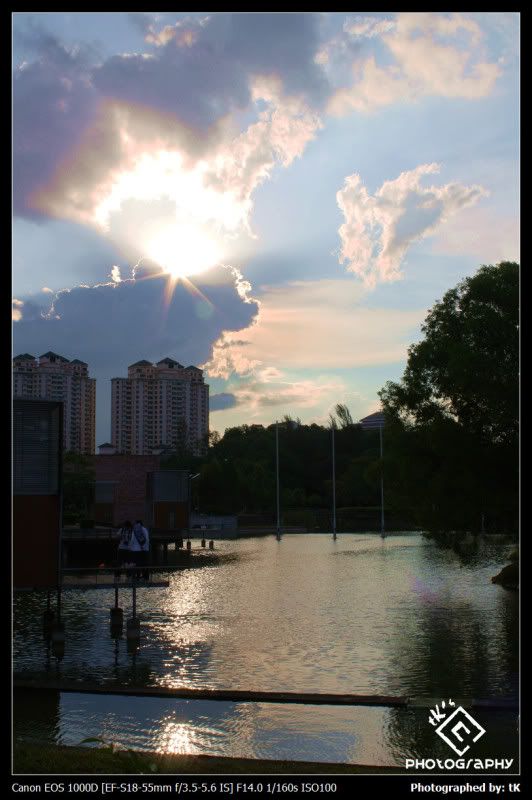
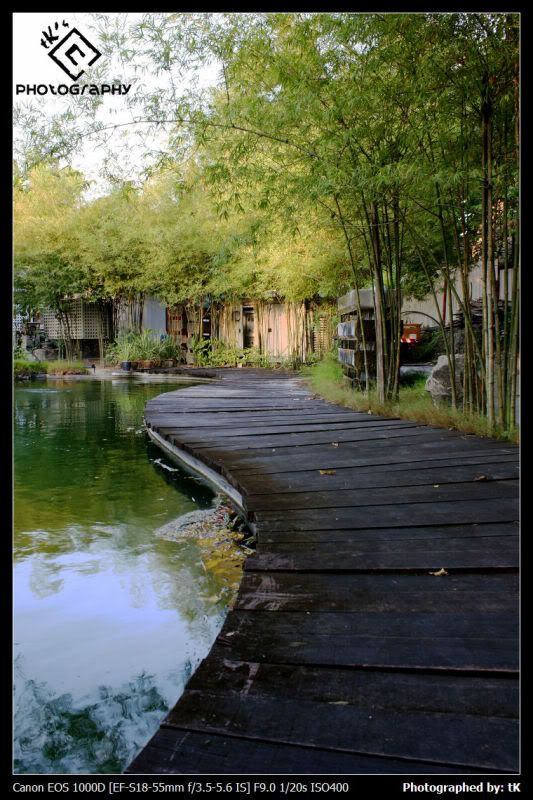
(This is actually a Koi Farm, but I couldn't show you any Koi photo due to hardness of photographing them in the water)


(Abandoned building with odd & eerie feelings, its not a place you want to stay long after dusk)


This place has some interesting architectures & landscapes. It is very suitable for an outdoor photoshooting session, I'm looking forward to bring a model here.

May 02, 2009

Putrajaya

This was a planned trip, it was supposed to be last weekend but due to some reason, it was postponed to this week.

Putrajaya is a famous place known for its unique building and bridges. It can be consider as a tourist attraction.

Here are the shots (click image to enlarge):


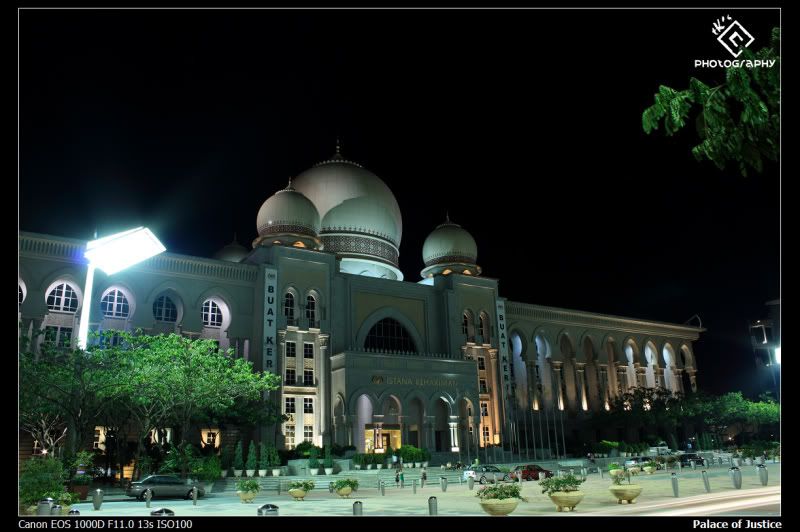
Perbadanan Putrajaya Closeup


Another one


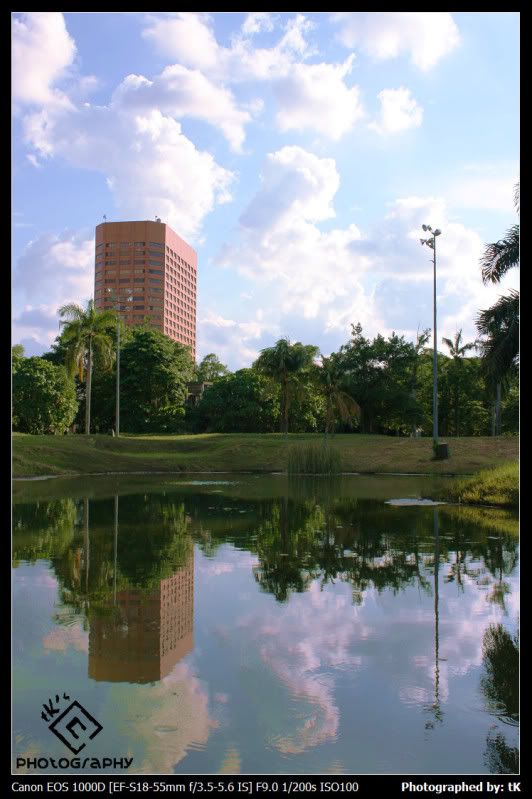
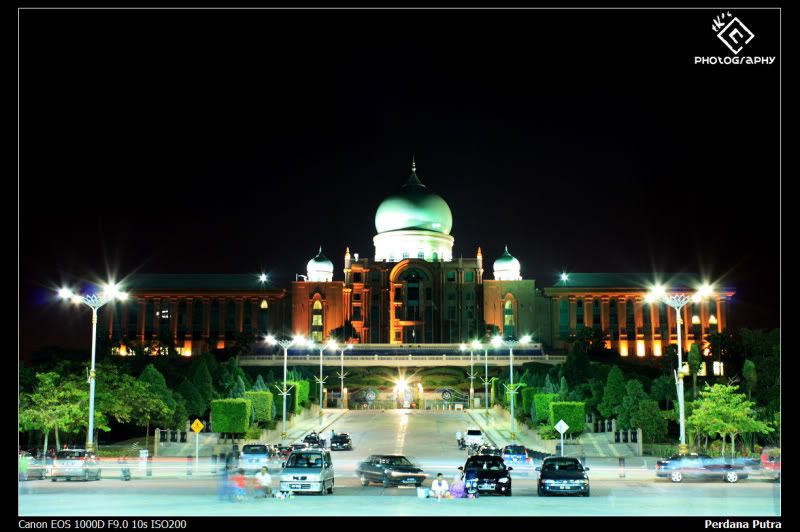
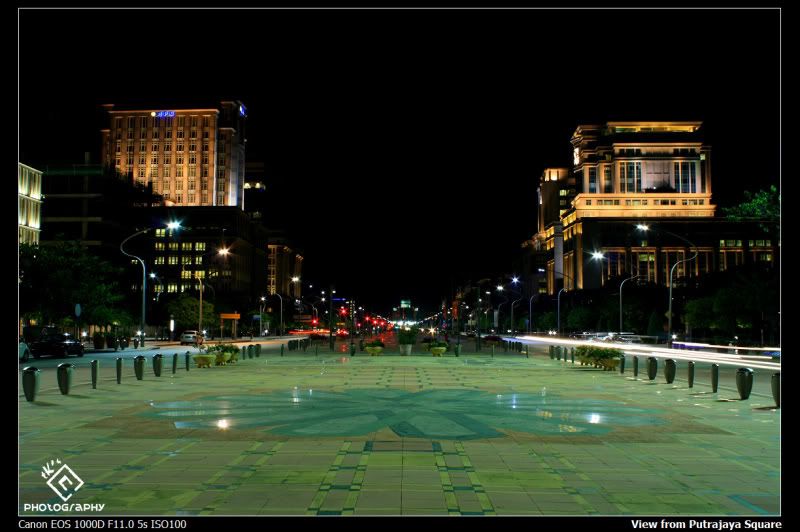
The view from Putrajaya Square (Note: The far-center building is actually Perdana Putra)


It was quite late when we finish, we were exhausted and couldn't continue anymore. But in fact, there are still a lot buildings and bridges we haven't photograph. We will come again...

Thanks clown, jay, chong & kawaiii for joining. This is my first night scene photoshoot.

May 01, 2009

DIY Light Tent

DIY a light tent is easy, provided you have the necessary tools.

Just find a square box, cut the 3 sides, leaving some space near the edge, paste the holes with white paper and it's done!

This is how it looks like:


And this is the result:


Due to the thickness of the paper, the result is not so good. I have to actually expose the object quite long. I will replace the thick A4 paper with some thin white fabric instead in the future.
Related Posts with Thumbnails