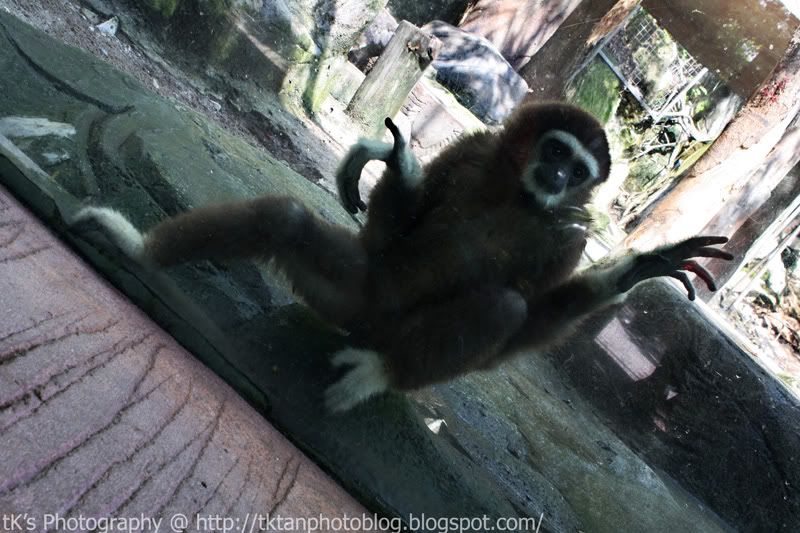
Here's a simple one.
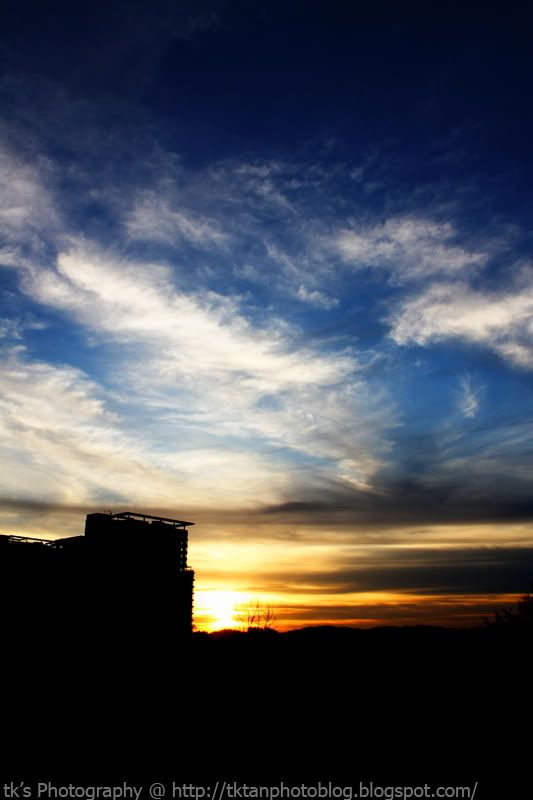
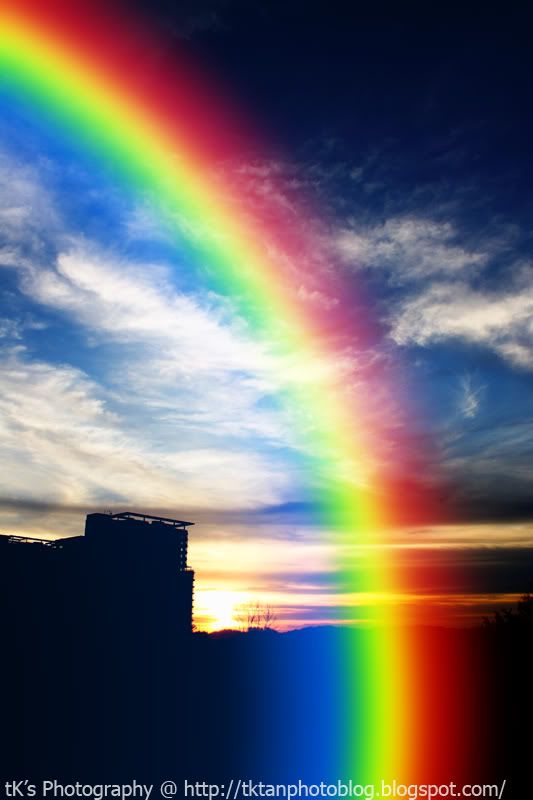
Before:
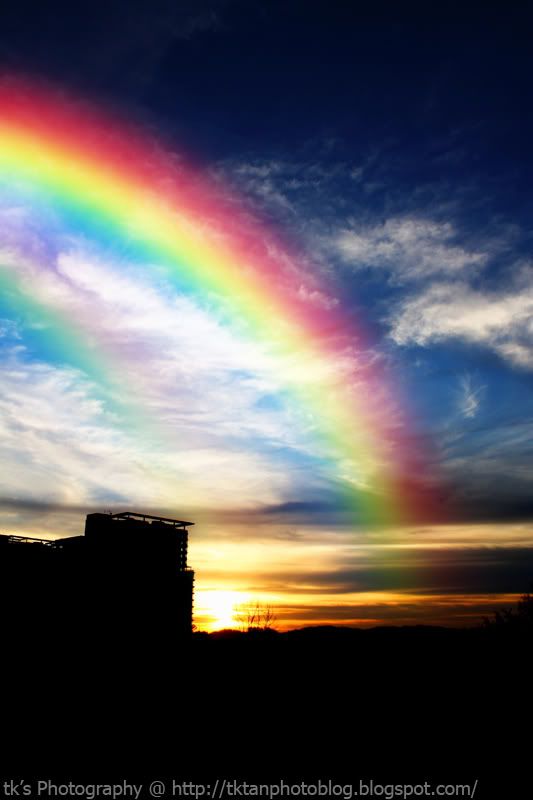
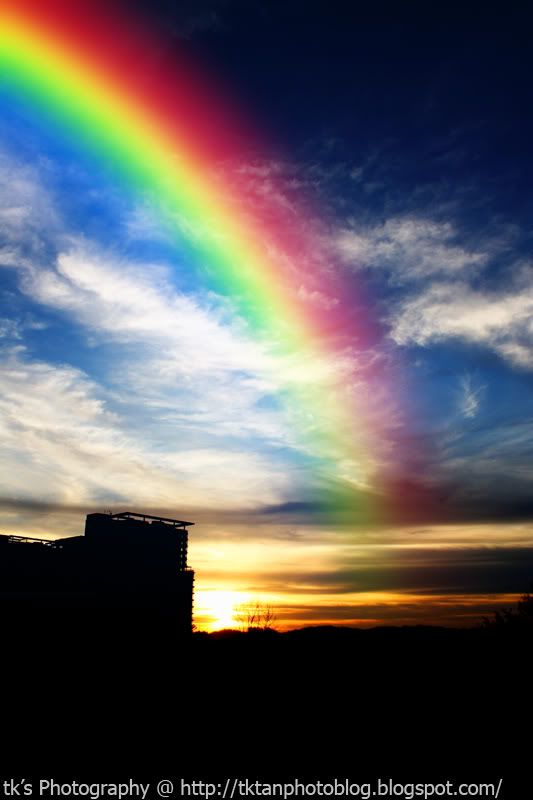
After:
It is very simple to make this in
Photoshop.
1) Open an image. An image with plenty of sky will do.
2) Click on the "Create New Layer" icon on the bottom right corner (just beside the bin).
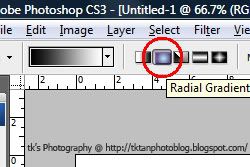
3) Select Gradient Tool (or press "G").
4) Select "Special Effects" (second from the bottom) from the Gradient Picker
drop-down menu. Select "Append" if Photoshop prompt you something about replacing the gradients.
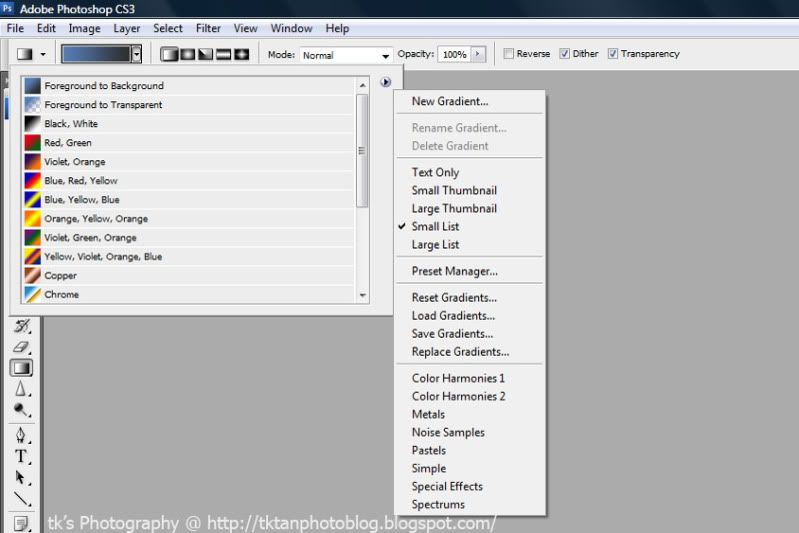
5) Select "Radial Gradient".
6) Place your
cursor on either side of the horizon, hold down
Shift and drag your mouse pointer towards another end of photo. The
releasing point is where you want the rainbow to appear. Try few times to get the optimum result.
7) An artificial
rainbow should appear, and it looks fake. Select "Screen" blend mode instead of "Normal" (there is a drop-down menu under the Layer tab, beside the "Opacity" and "Fill" on your bottom right).
8) To make it more realistic, apply some blur by choosing Blur > Gaussian Blur. Set the amount according to your taste. I normally use a higher value (I.e: 60+).
9) The rainbow now should look like this:
Its still fake though.
10) Select the gradient tool again, choose "Foreground to Background" (1st one) again. Select Linear Gradient (beside the Radial Gradient).
11) Add a Layer Mask (3rd icon from left, beside the "fx" icon).
12) Now hold your Shift and place your mouse pointer on the horizon of the landscape. Pull upwards to make the bottom part of the rainbow disappear. You may need to try few times to get the most natural result. You can always reduce your opacity if your rainbow looks too saturated and fake.
13) Your rainbow should look like this:
14) Press Ctrl + J to duplicate the layer, set the opacity to around 75% in order to add more vibrance to your photo.
15) Flatten your image and save.
Tips:- Use brush to tidy up (after Step 12) any unnecessary rainbow that appear in your horizon.
- The direction of rainbow will look natural when it is bending outwards the source of light in your image. Bending inwards will look fake.
- If the rainbow looks too think, you can always use Free Transform Tool (Ctrl + T) to squeeze it smaller.
- Select a scene/picture that will most probably have a rainbow in it. For example, my tutorial picture is actually not very suitable as it is very hard to see rainbow during sunset.
- You can duplicate the rainbow and make "
double rainbow" effect.

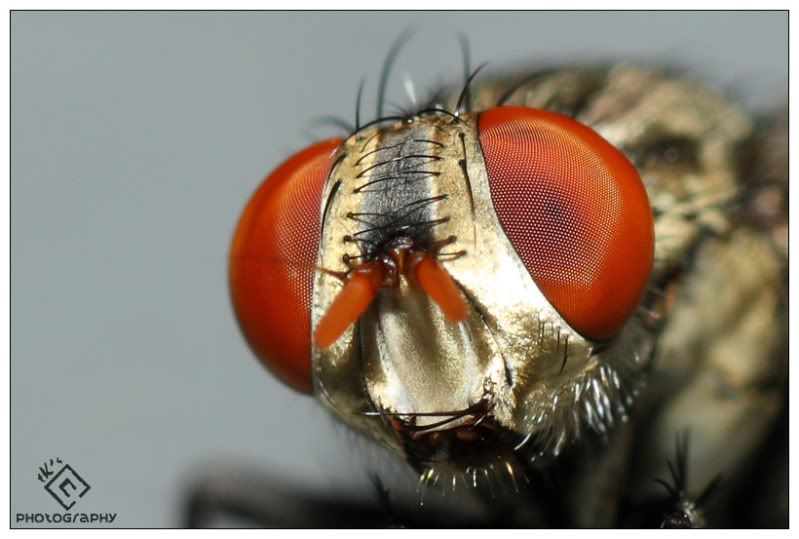


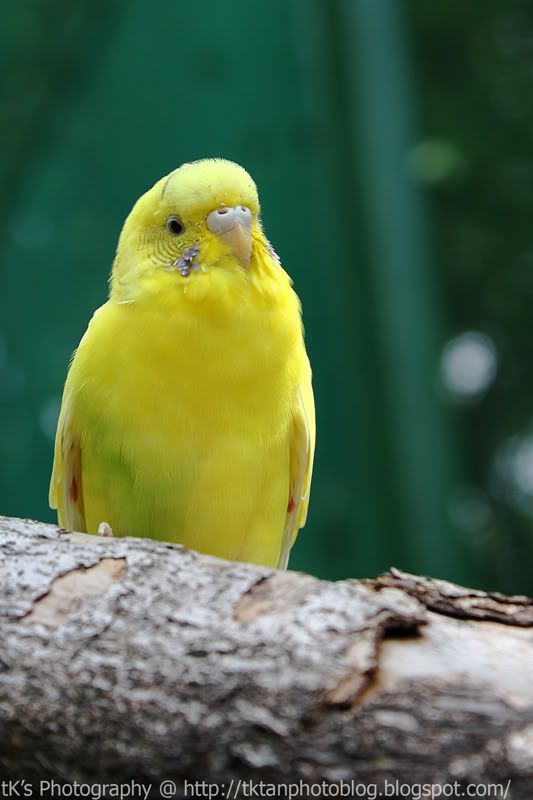
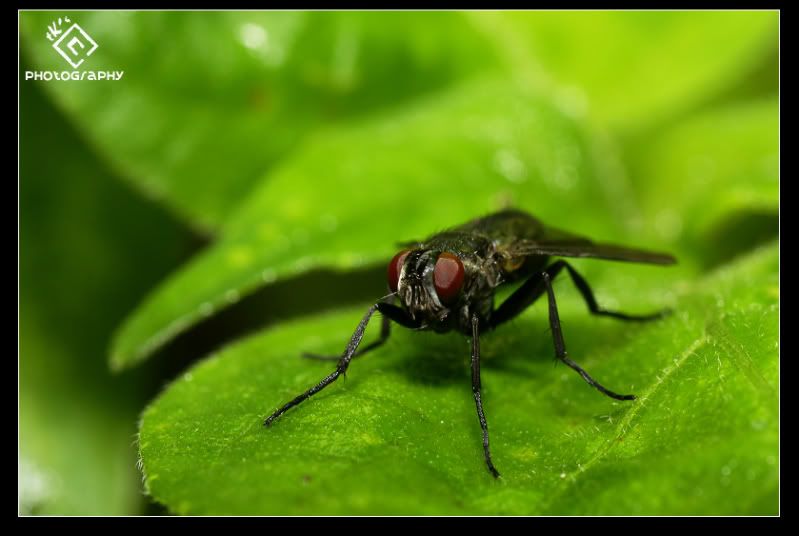 (1:1, slightly cropped)
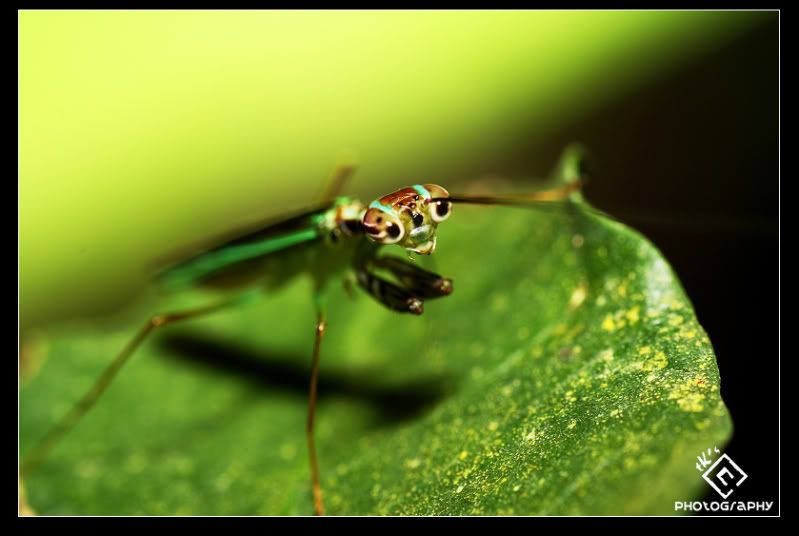 (1:1, no crop)
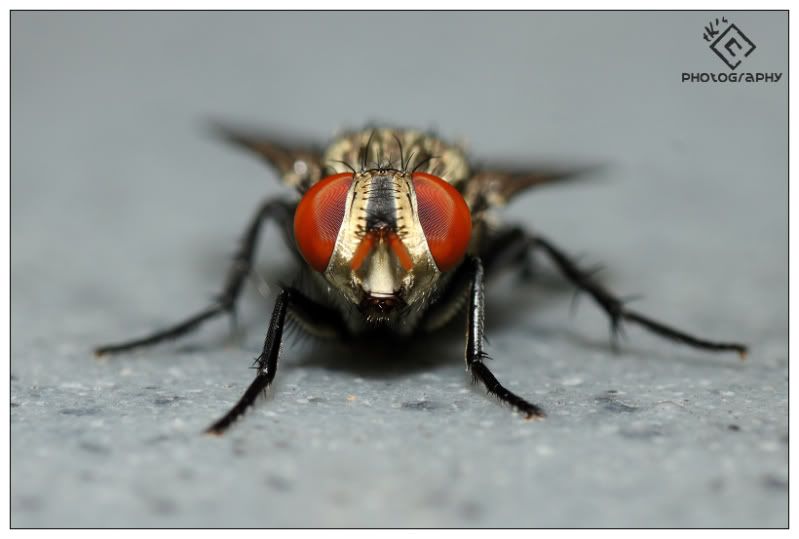
 (1:1, slightly cropped)
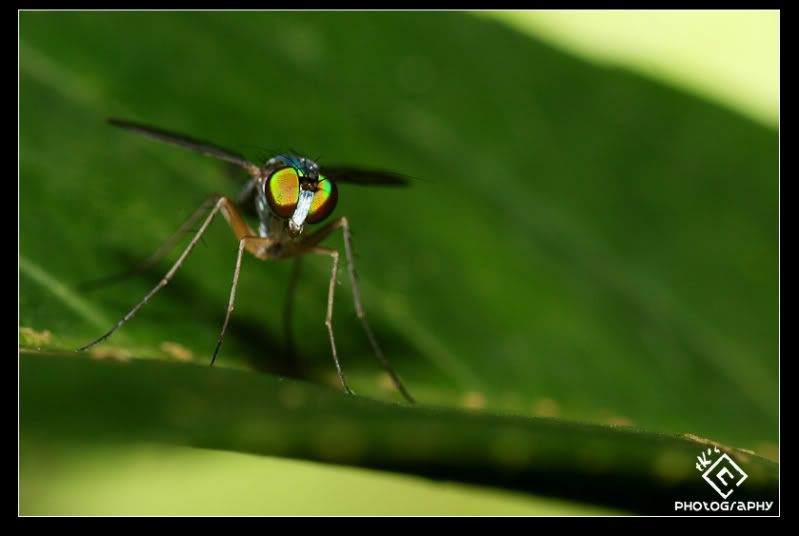 (Not 1:1, as its too far to reach)
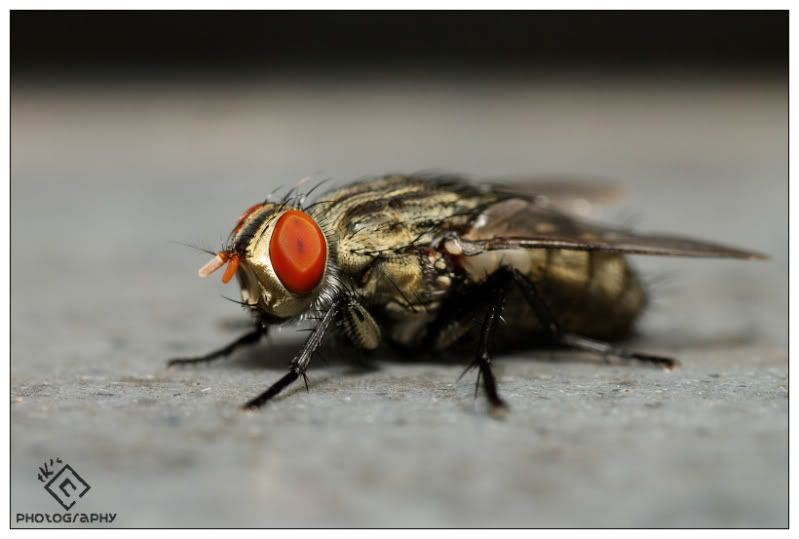
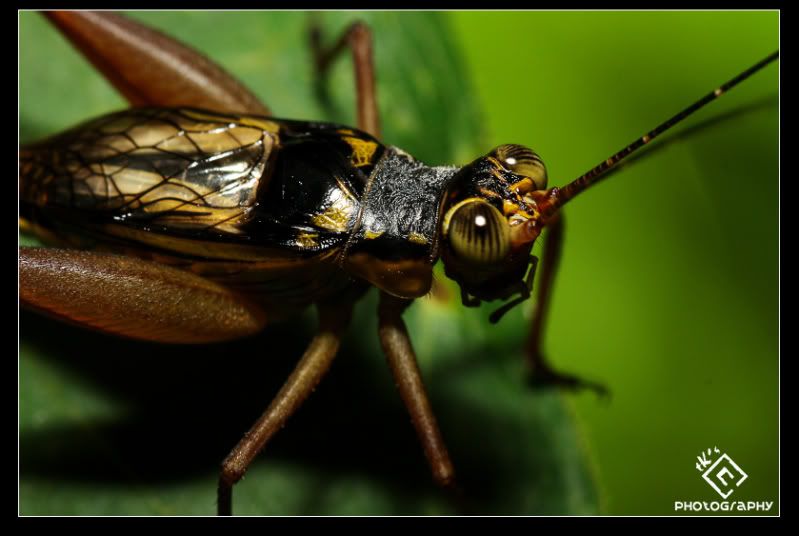 (1:1, slight crop)
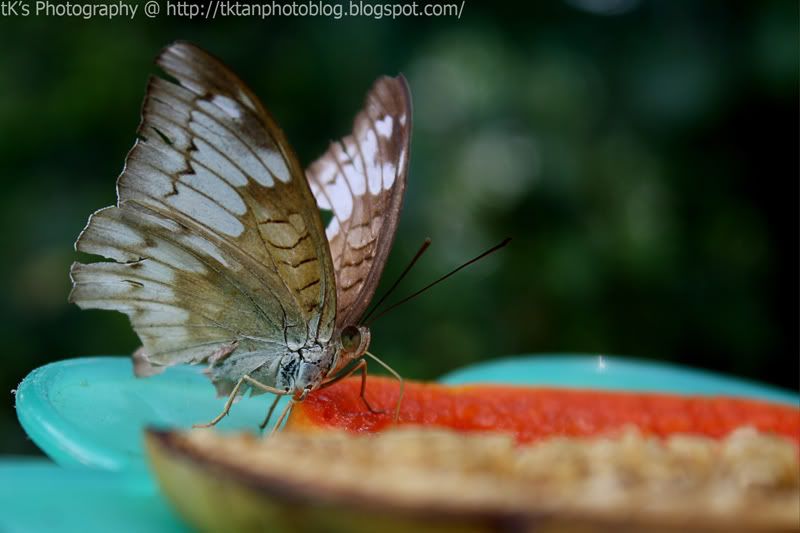
 (A dieing insect)
 (1:1 size, no crop)
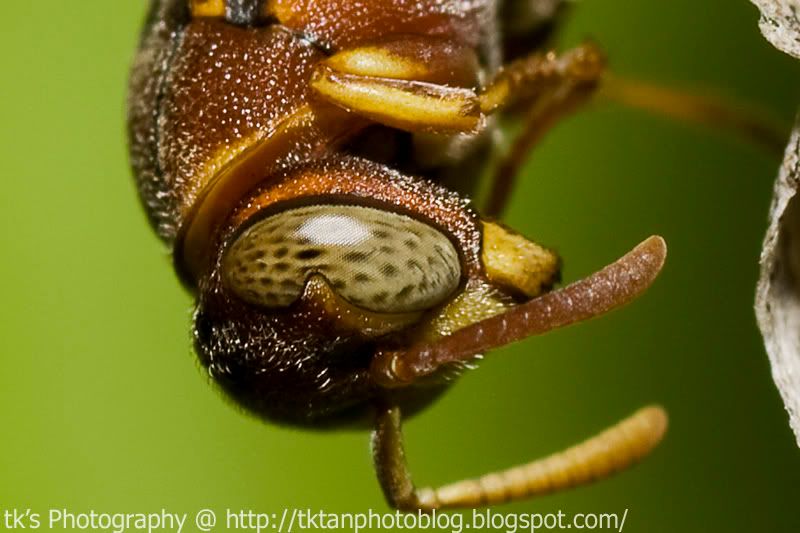 (100% crop)
 (This was shot using my 1000D body + EF 100-400mm f/4-5.6L IS USM lens. The range of the lens is cool, but its too heavy an the IS dosen't seem to help much on slow shutter speed, i.e. 1/60s and below)
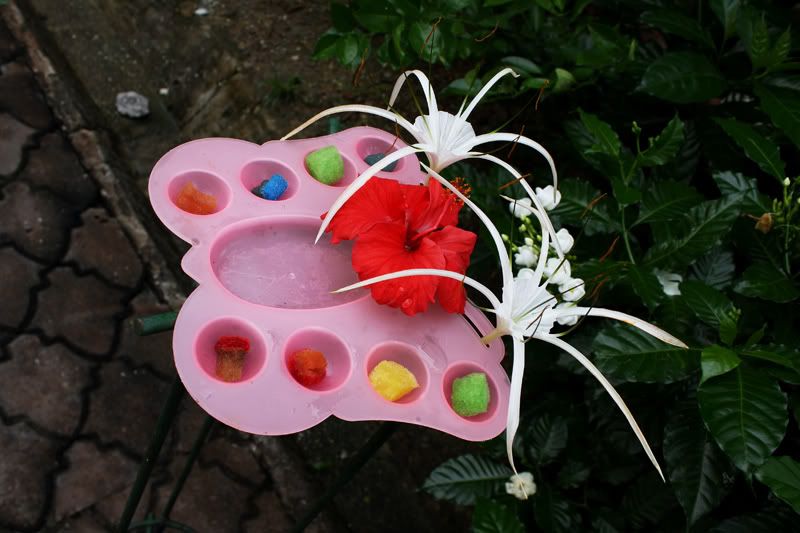 (Flower Palette used to feed butterflies)
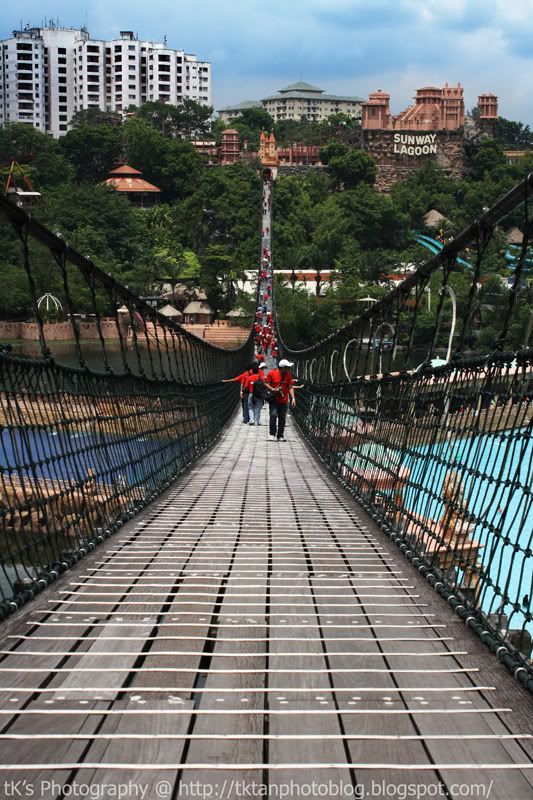 (World's longest suspended bridge @ 428m)