August 22, 2009

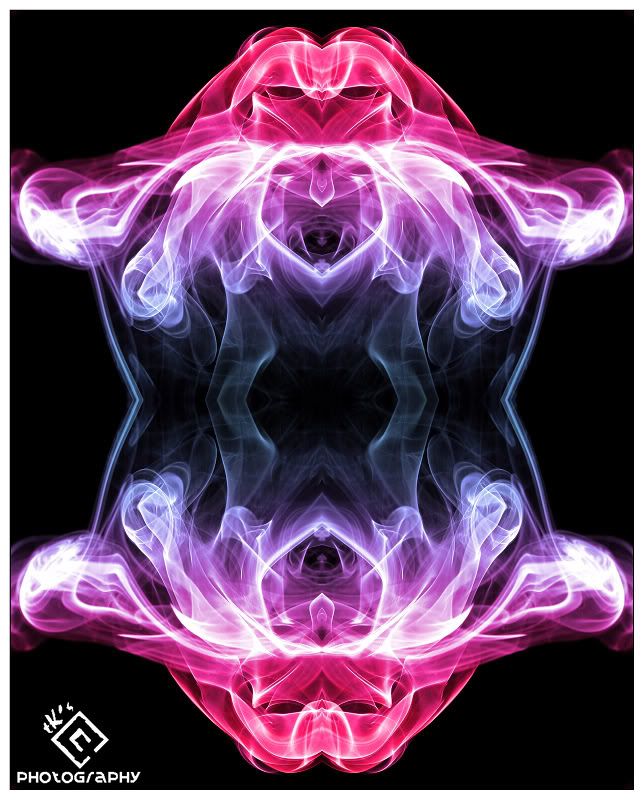
Smoke Trails Photography III

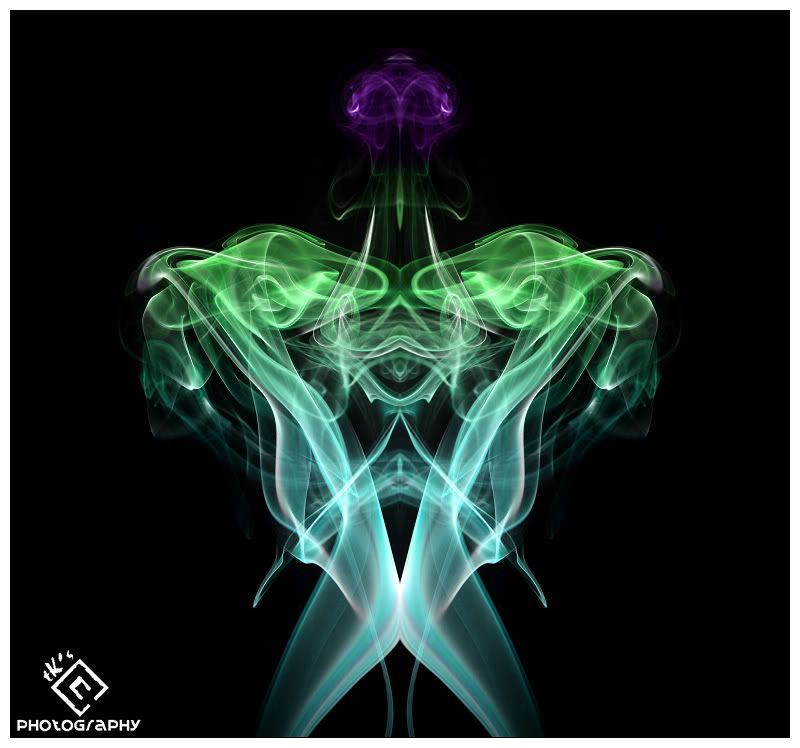
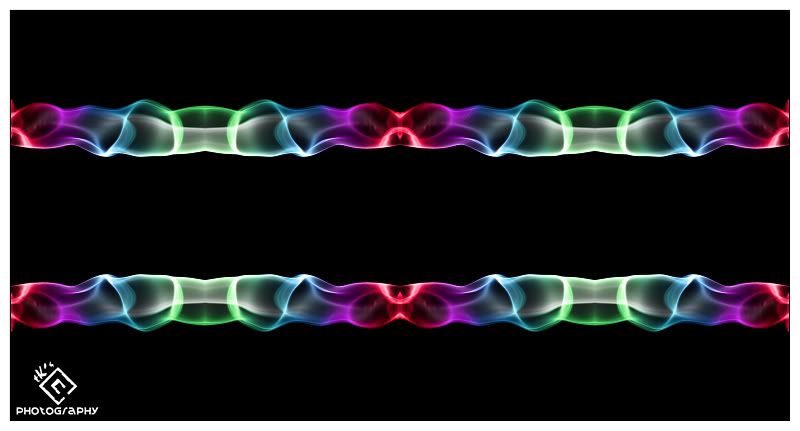
This is my third try on smoke photography (click here & here for previous ones). After owning a new flashgun, the effect is a lot better compared to built in flash as I use off camera technique to light up the smoke from the side.

the Guide Number of external flash is stronger than built in flash and the smoke is very well lit.


I find single colour boring, thus i used Layer Mask to create multiple colour transitions.

Enjoy.


August 18, 2009

Toy Town Effect

Have you encountered some pictures that look like miniatures but it's actually a real world's scene? This is called Toy Town Effect. There are several ways to achieve this. Firstly, using a Tilt & Shift lens such as Canon's TS-E 24mm f/3.5L II lens. However, this approach is costly (The lens itself costs RM4,500++). The cheaper alternative is to get a Lensbaby but the effect is not so well executed. The cheapest way to do this is faking it in Photoshop.


(Click to have a better view)
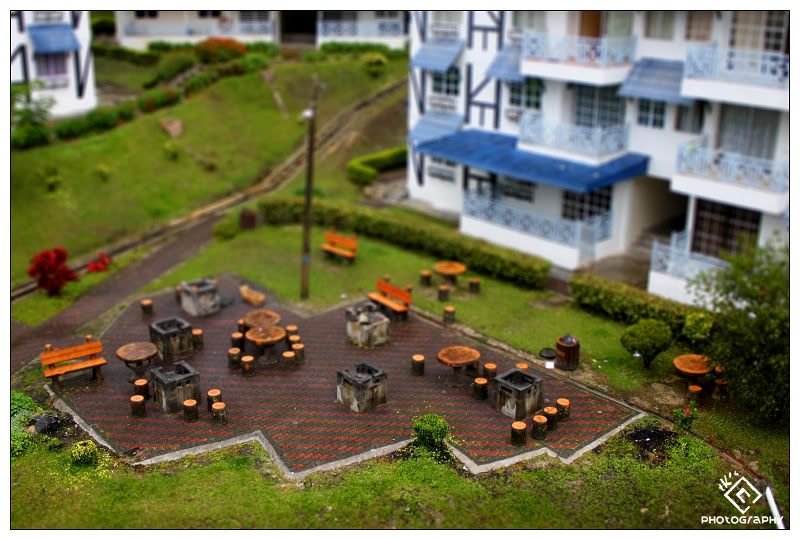

I will have a simple tutorial here to illustrate ways to do this.

1) Choose / Take the picture. Pictures with wider angle to include the environment and with few people/objects is suitable. Please make sure the people/object in the picture is small and does not dominate the frame. Do NOT include the sky in the picture as this will definitely spoil the feel of a miniature.

2) Enter Quick Mask Mode (Q). Select Gradient Tool (G). Make sure you select the Reflected Gradient (2nd from the right side).


3) Drag a vertical line from bottom to top. The starting point is where your picture should look sharp. The shorter the line is, the narrower the focused area is going to be.


4) Press Q to exit Quick Mask Mode. Select Filter > Blur > Lens Blur. Try to experiment with different attributes until satisfied and press OK. Ctrl + D to Deselect.

5) To further enhance the effect of Toy Town, Adjust the Curve (Ctrl + M) to boost the contrasts and increase the Saturation (Ctrl + U) by making it to look a little bit fake. Adjust accordingly to taste, just don't overdo everything.

Tips:

- Avoid Sky
- Small people/object
- Avoid moving objects (freeze it if possible)
- Choose scenes with not-so natural lighting conditions. Find those with a potential "indoor lighting/fake lighting/artificial lighting" feel.
- Higher angle (when taking photo) have more depth of field (DOF). Lower angle have smaller DOF.
- Get creative.
August 16, 2009

New Gears in the House VII

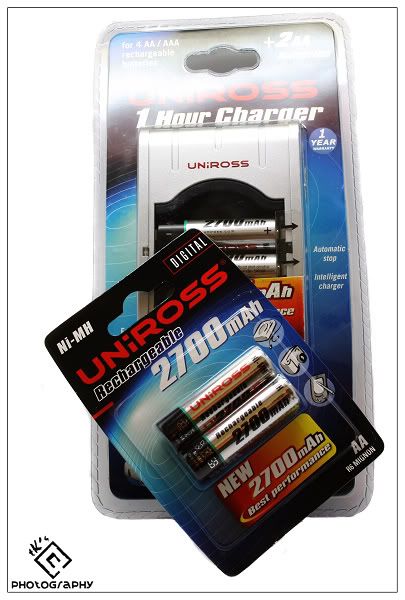
After some "asking-arounds", I have finally decided to get Uniross 2700 mAh NiMh AA Rechargeable Battery.

Since it is KLPF (Kuala Lumpur Photography Festival) today, and my friend works there, I have decided to pay them a visit and trying to get my battery as well.

That place is crowded (expected) as photogs are busying taking photos of the models over there. I did not even take out my camera during the whole period. Snapping pictures of hot models in Fairs (say PC Fair / Automotive Fair or whatever Fair), is just not something I would do (don't ask me why).

I personally feel nothing special on these kind of Fairs because some of the items sold are actually quite pricey and no where cheaper than retailing price outside.

This is what I bought:


The 4 x AA + Charger Pack is sold off! So I have no choice to take 2 x AA + Charger & Another 2 x AA Pack. However, the guy at the booth told me it is cheaper because they are giving substantial discounts (I doubt that).

Price: RM 128 + RM45
Discount: RM 18
Net: RM 115 + RM40

Total spending to date: RM 4,702.75

August 14, 2009

New Gears in the House VI

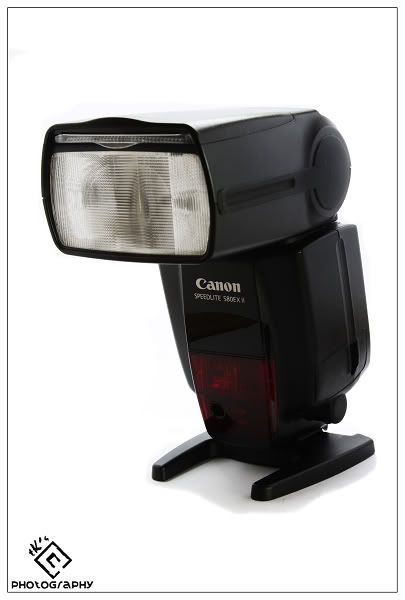
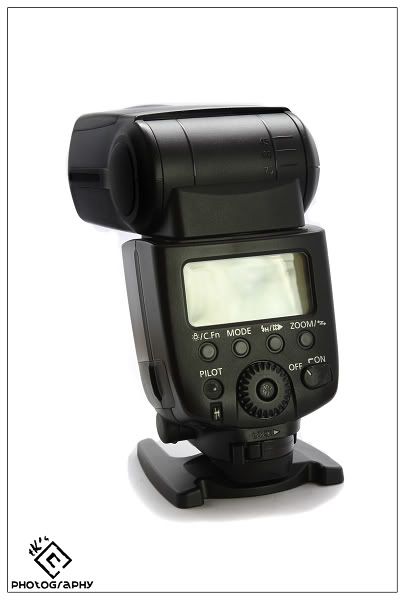
Finally, my first ever external flashgun - Canon Speedlite 580EX II.


This is another second hand unit bought from someone I know through the forums.

We arranged to meet up and my first impression of this flash is...a little bigger than I thought. Being Canon's Flagship flashgun, the built quality and finishing is near to perfect.

After attaching it on my 1000D, it is still not oversize as prescribed by others, perhaps due to my battery grip that makes my camera look bigger and more balanced. I can't imagine this flash being mounted on a Canon G10.


The warranty of this flash is expired but it's in good working condition. I would rate it 9.5/10. I still do not have any suitable Rechargeable AA Batteries for this flashgun yet, perhaps I will survey around before I buy them.

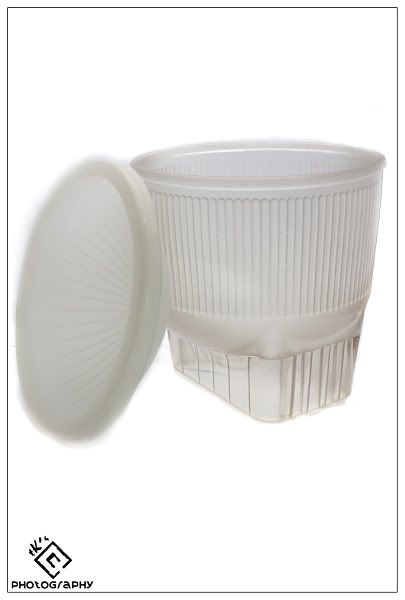
Thanks Robin for offering me a great flash. I bought a Lambency Dome Flash Diffuser from him as well =)


Price: RM1,250 + RM30
Discount: -
Net: RM 1,280

Total spending to date: RM 4,547.75

August 02, 2009

Spherical Panorama

Recently I read an article on creating an unusual panorama photo, different from the common "flat & long" panorama pictures out there. They called it spherical panorama or some call it photosphere panorama.

The concept is easy, a 360 degree view, warped into a spherical object, resembling the earth or some planet.

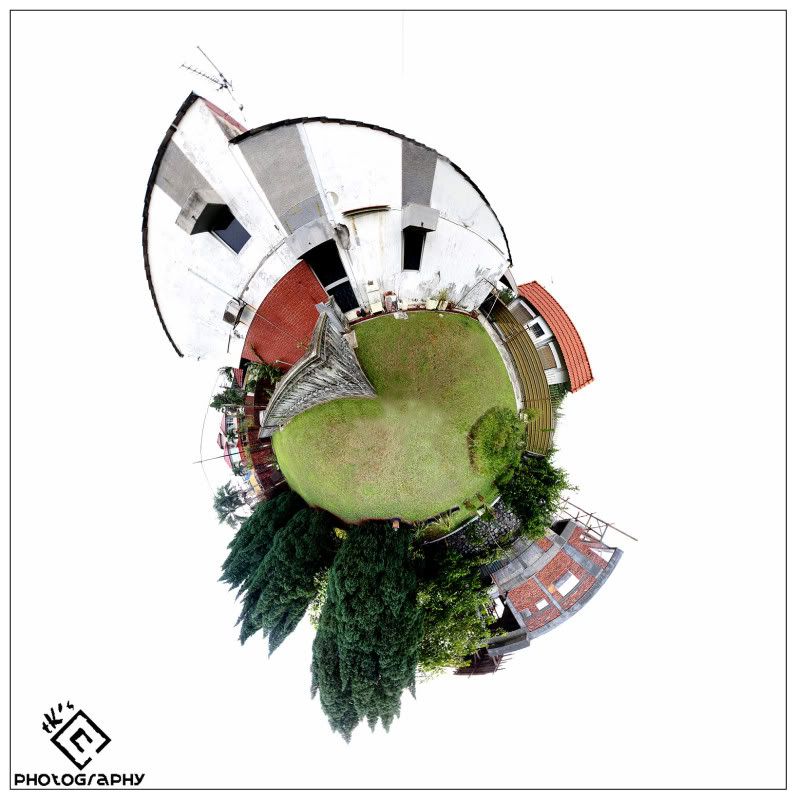
This was my first try:


"My World"

I call it "My World" because this is where I lived & this is where I grow. This is actually by backyard of my house.

The proper way to do this is actually using a panorama head to avoid parallax when rotating your camera. Furthermore, to shoot a perfect spherical panorama, you need to shoot extra few frames of photo to include the sky and the ground directly above and below the tripod. These 2 angle are called Nadir & Zenith. In my example. I'm just using a simple tripod and I did not shoot these 2 extra shots.

I will start off a simple tutorial on how to do it, and I believe most of your PS skill is a lot better than me:

1) Setting up. Find a spot that has enough foreground and trees & buildings surrounding you should not be too near to you as you have to include the whole building or tree in your frame (their top part should not be cut off).

2) Shoot a series of photo. Making sure 360 degree of the scene is covered. Make sure the horizon level is straight before you shoot. For the shot above, I have set my camera to vertical orientation and shoot 2 layers of 360 degree panorama (due to my 18mm end is not wide enought to cover enough foreground + building in whole). I also shoot extra few shots to cover the roof of the building that has been cropped off.


3) Stitching it. Go to your Photoshop, choose Edit > Automate > Photomerge. Choose Auto option and load your series of photo. This may take a while.


4) Processing. In this step, most of you are certainly better than me in PS, so this is just a guide. I will firstly flatten the image, crop off the awkward edges. Then duplicate a layer, Press Ctrl + T (Free Transform), squeeze the photo into a square, crop off any excessive backgrounds.


After this, you will get a square image that look ugly. However, this is necessary to wrap your image into a globe-like object, if the image is not square, your globe will become oval instead a sphere.


There are 2 variations of spherical panorama. The one I show you requires you to rotate your picture 180 degree by selecting Image > Rotate Canvas > 180°.

Then select Filter > Distortion > Polar Coordinates. This will wrap the photo into a spherical object. You can try this step without rotation the image 180 degree. Compare these 2 variants and see which worked best for you. In my example above, the rotated images looks better.


(Variation 1)


(Variation 2)


5) Tidy up. You will see some ghosting or overlapping between images. Use Clone Stamp Tool and/or Healing Tool to clone out them (I'm weak in this part). Adjust the Curve & Level to further enhance the contrasts & saturation. Sharpen and Flatten the image. Finally, crop out excessive space of the picture.

The reason I choose to shoot in under a cloudy day is to avoid the hassle of taking account the sky. In the example above, I just dragged the Curve to burn out the sky.

Hope you enjoy the whole new perspective to panorama photography.
Related Posts with Thumbnails